
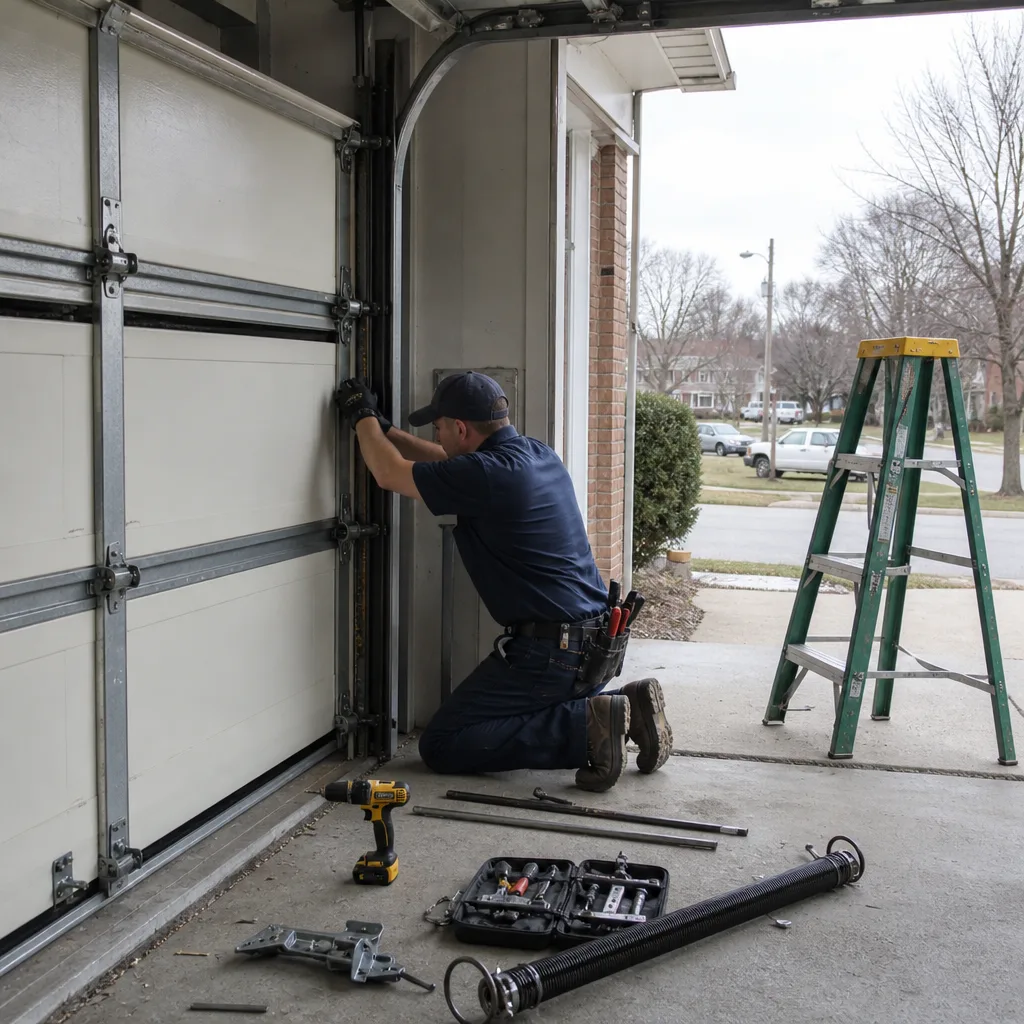
Last updated November 21, 2026
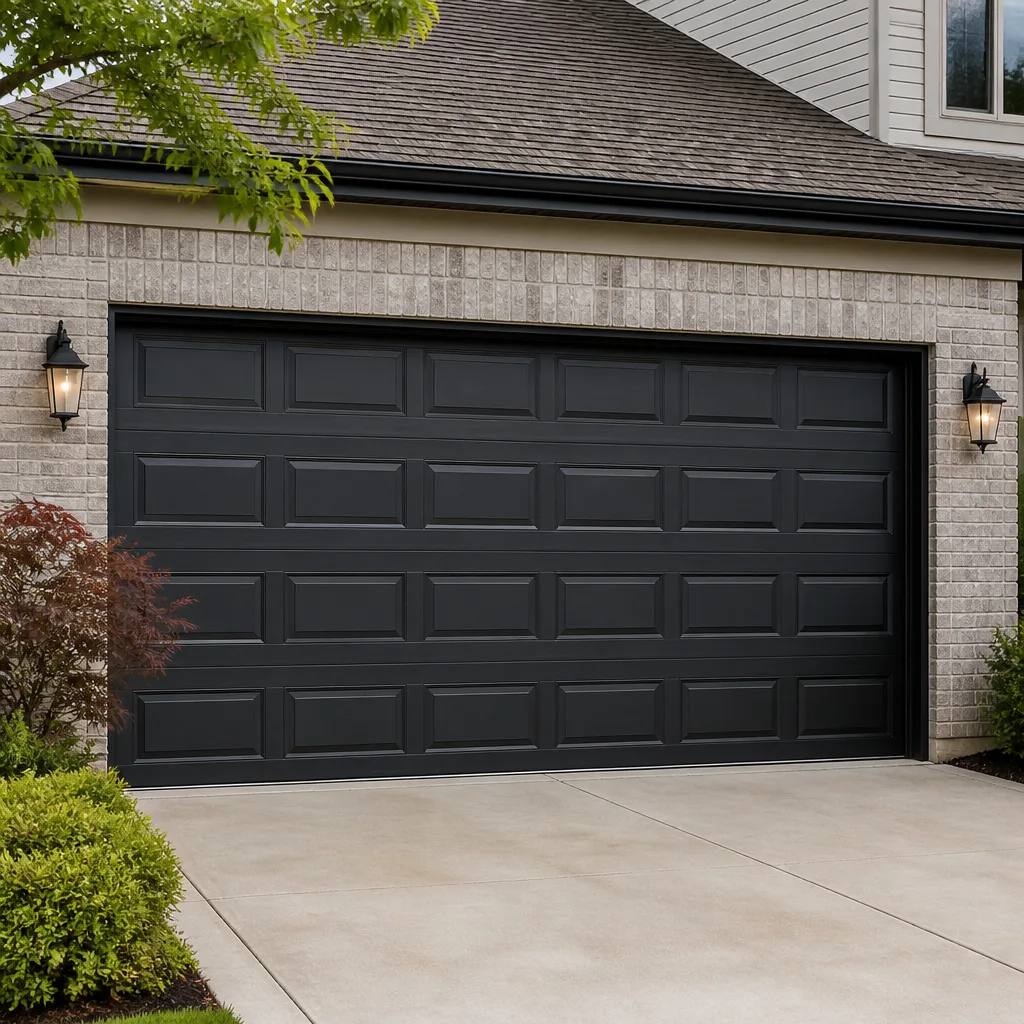 Raised-panel steel
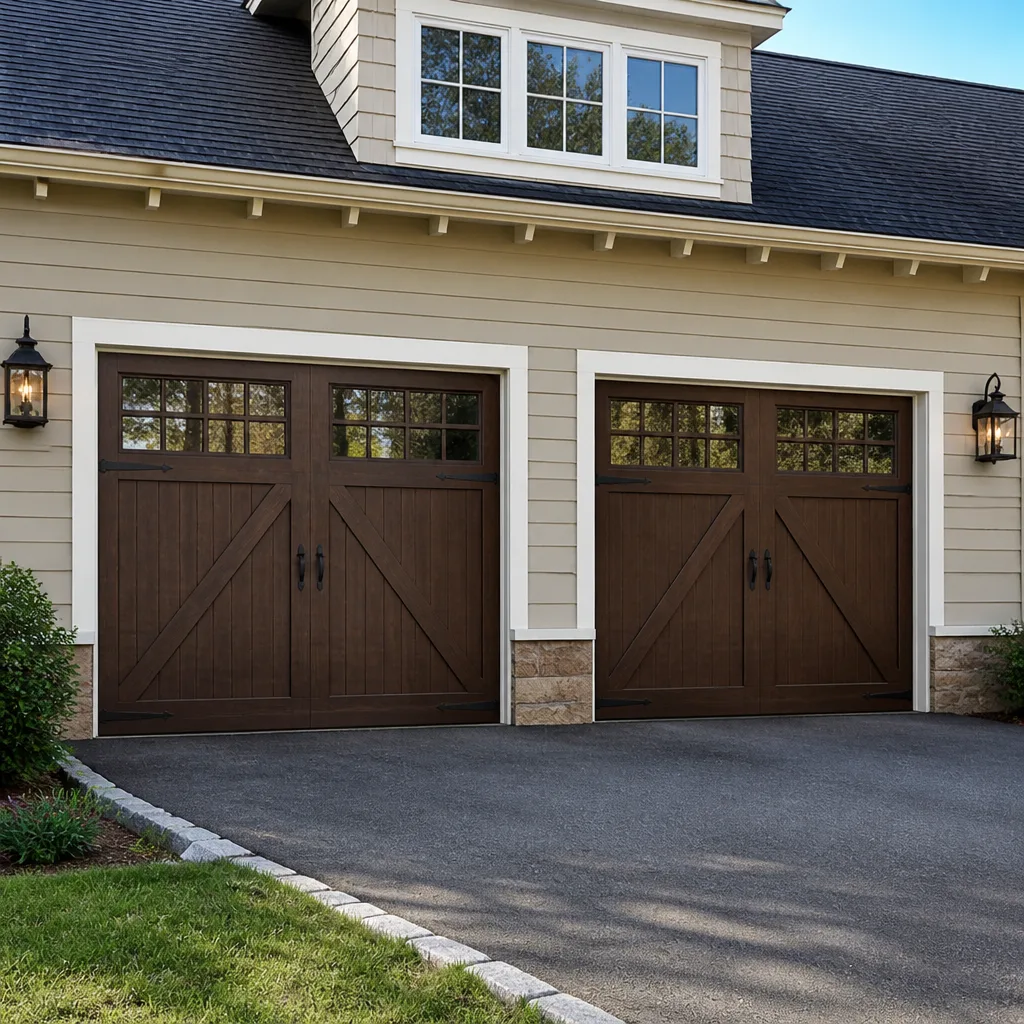 Carriage house
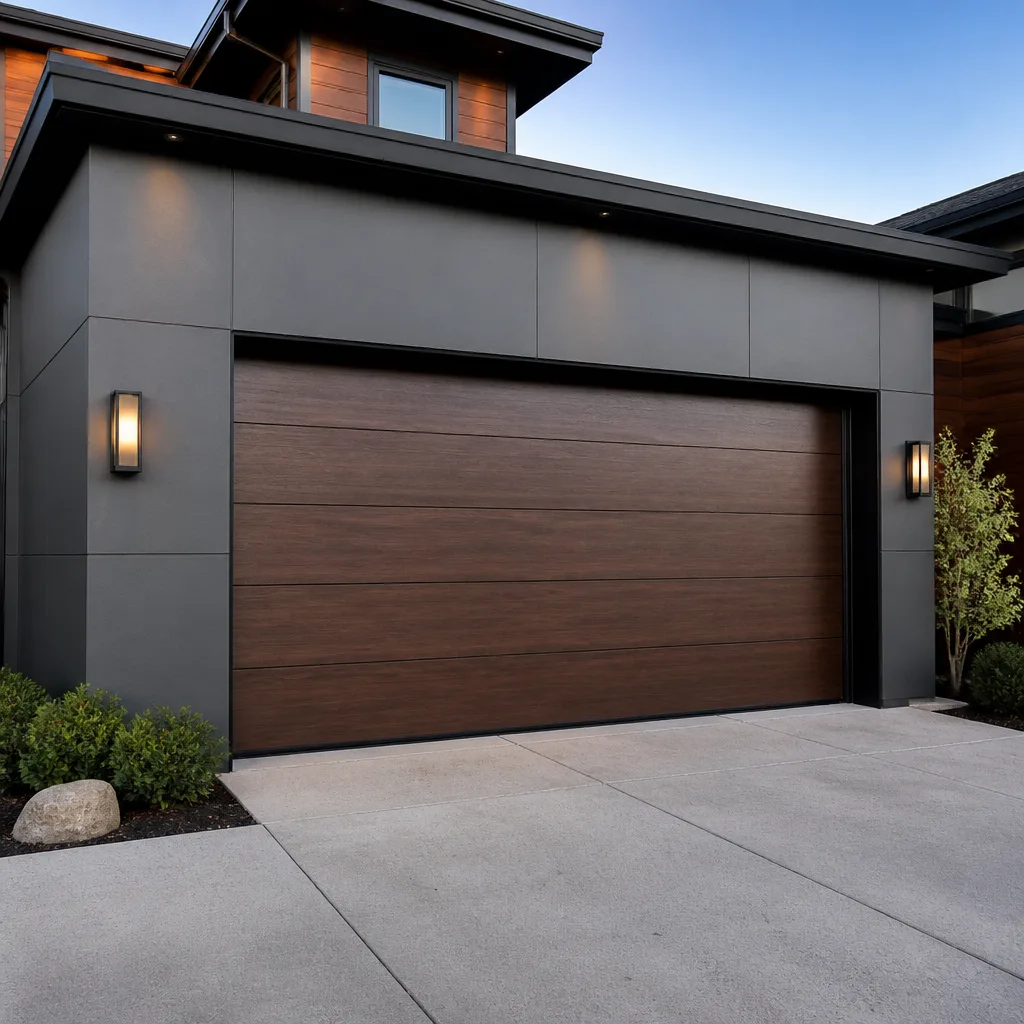 Modern flush
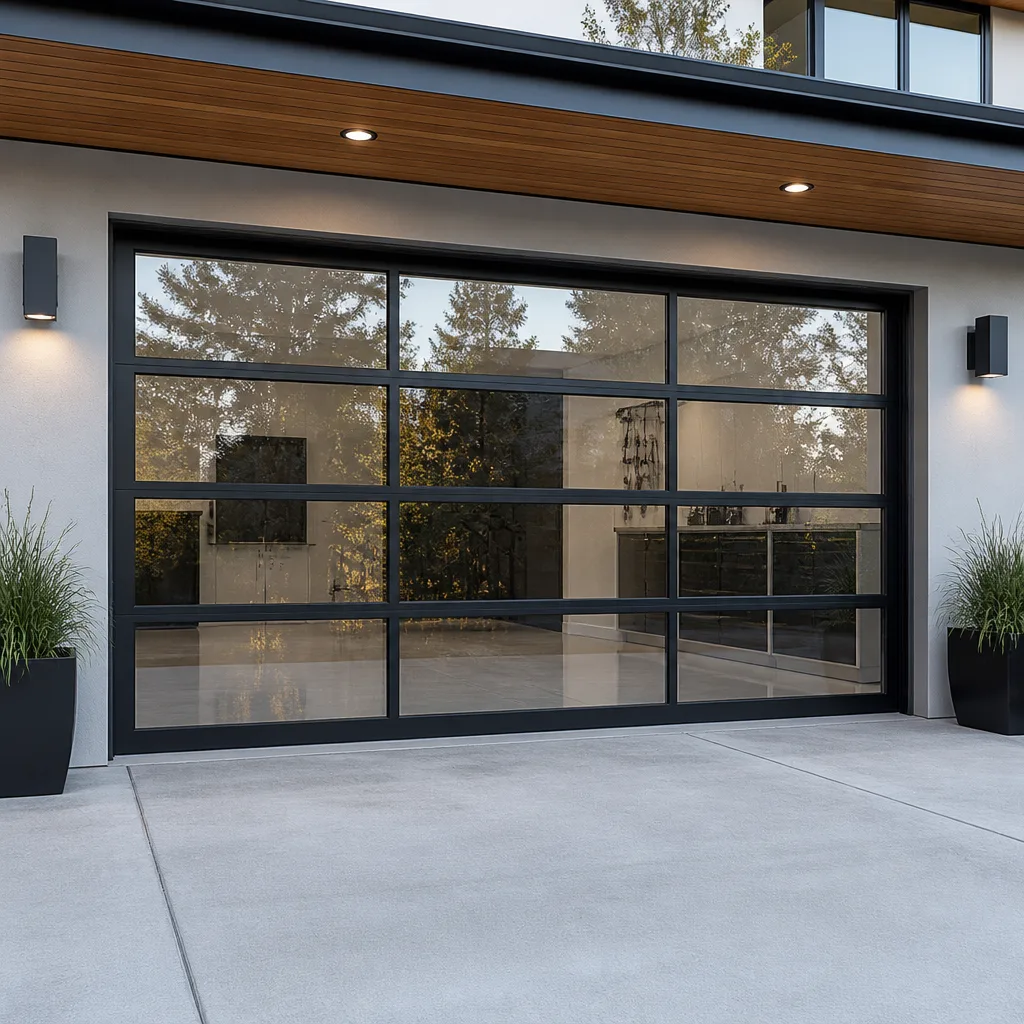 Full-view glass
 LiftMaster openers
 Chamberlain openers
Full 25-point door and opener safety check with every visit - springs, cables, rollers, tracks, and your LiftMaster or Chamberlain opener included
You get a price before we start. It does not change when the pro arrives.
Get your free estimateGarage Door Repair Maintenance Checklist for Lindenwood Park Homeowners
The most expensive garage door repair calls we respond to in Lindenwood Park weren’t emergencies. They were ignored warning signs that a ten-minute monthly check would have caught six months earlier. A door that shudders on the way up, a roller that squeals once and then goes quiet, a bottom seal that starts letting in daylight – these are cheap to fix at the warning stage and expensive to fix after the warning turns into a snapped cable or a bent panel. What follows is a checklist in the order a specialist actually inspects a door, not alphabetically or by component category. The sequence matters because the parts that fail most often get checked before the parts that get damaged by them. You’ll learn the specific inspection order, the lubrication points most homeowners skip, how to read spring tension without tools, and a month-by-month calendar tied to Lindenwood Park’s real seasonal swings.
Quick Answer
A garage door maintenance checklist should be worked in failure order: springs and cables first, then rollers and hinges, then tracks, then the opener and safety sensors, then the weather seal and balance test. In Lindenwood Park, the St. Louis climate zone drives the priorities – winter cold snaps are when torsion springs break most often, and summer humidity is when roller bearings and hinge pins seize. A full ten-minute walk-through once a month, plus a deeper check in late fall before the first freeze, catches nearly every failure while it’s still inexpensive to fix.
Styles & brands we work with
- Raised-panel steel
- Carriage house
- Modern flush
- Full-view glass
- LiftMaster openers
- Chamberlain openers
Table of Contents
- Why the Inspection Order Matters More Than the Checklist
- Step 1: Springs and Cables (Always First)
- Step 2: Rollers, Hinges, and the Lubrication Points You Skip
- Step 3: Tracks, Brackets, and Bolted Hardware
- Step 4: Opener, Safety Sensors, and the Balance Test
- Step 5: Weather Seal, Bottom Rubber, and Panel Condition
- The Lindenwood Park Month-by-Month Maintenance Calendar
- The Exact Moment to Stop and Call a Specialist
Why the Inspection Order Matters More Than the Checklist
Most homeowner maintenance checklists are organized by component type, which is fine for reading but wrong for inspection. A door fails as a system. A stiff roller puts extra load on the opener. A loose hinge lets a panel shift, which kinks the cable, which overloads the spring. If you check the opener first and it seems fine, you can miss a roller that’s quietly wearing the whole mechanism down. Checking in failure order means you catch the components that start the chain before they pass the damage along.
Here’s how we sequence a walk-through, and why:
- Springs and cables. These carry the weight of the door. They’re also the parts that fail catastrophically and cause secondary damage to panels, openers, and the vehicles below. If something is wrong here, nothing else matters.
- Rollers and hinges. The most common wear points in the system. Rollers and hinges seize long before they fail, and a seized roller is the number one cause of opener strain.
- Tracks and brackets. Alignment issues here show up as symptoms elsewhere. A slightly out-of-plumb track wears rollers and stresses the opener.
- Opener and safety sensors. The opener is usually a victim, not a culprit. Checking it after the mechanical parts means you’re not testing a motor that’s fighting a bad roller.
- Weather seal and panel condition. Moisture intrusion through the bottom seal damages panels and interior hardware, and panel damage is the most expensive repair on the list.
This order also mirrors how our technicians have been trained to work. Our technicians have up to 15 years of experience, and they start every diagnostic visit at the springs for the same reason. When we take a call for what sounds like an opener problem, the actual fault is often a bound roller or a worn hinge – the opener is just the first thing the homeowner heard complaining.
Step 1: Springs and Cables (Always First)
Springs and cables are the highest-failure, highest-consequence components on any garage door, and they’re the reason this step comes first. In the St. Louis climate zone, torsion springs take a beating – every winter cold snap contracts the steel, and every summer expansion cycle works it back. The result is that spring failure in Lindenwood Park tends to cluster in the first hard cold of the season and again in the deep heat of August. Read more about what spring failure looks like on our garage door repair page.
Here’s what to check without tools and without touching anything under load:
- Look, don’t touch. From the floor, look up at the torsion bar across the top of the door. A visible gap in the coil is a broken spring. Stop here and call a specialist.
- Listen for the door’s voice on the way up. A healthy door runs at an even pace. A door that’s sluggish at the bottom and speeds up mid-travel is telling you the springs are losing tension.
- Check the door’s weight by hand at the disconnect. With the door closed and the opener disconnected at the release cord, lift the door about a foot by the handle and let it settle back. A properly balanced door takes light effort and stays put when you let go. A door that feels dead-heavy needs spring attention.
- Look for slack in the cables. Cables should be taut on both sides. A cable that sags or has slipped off a drum is a call-now, not a call-later.
How to Read Spring Tension Without Tools
You can gauge spring health by feel, but here’s the key principle: on a properly tensioned door, the effort to lift is light and the door stays where you leave it. If the door crashes down when you let go, the springs have lost tension. If it flies up too easily, the springs may be over-tensioned for the door’s weight. Either reading means the system needs adjustment by a technician – spring tensioning is the single most dangerous adjustment in garage door work, and the torsion bar carries lethal stored energy. Do not attempt to adjust springs yourself. This is not a “call a pro if you’re not comfortable” situation. It’s a “do not touch” situation, and it’s why spring repair is a named, dedicated service for us rather than something we squeeze in as an afterthought.
Cable Fraying – Use the Right Lighting Angle
Frayed cables almost never announce themselves with a sound. But they do show up under a specific lighting angle most homeowners never try. Stand on the left side of the door and look at the right-side cable so it’s catching light from a low angle, and run your eye from the drum down to the bottom bracket. Frays show as tiny wire whiskers, usually within an inch or two of the drum. Now reverse it – stand on the right and look at the left cable the same way. Overhead lighting misses most of this. The low-angle silhouette is what makes it visible. Any whisker you can see is a call to a specialist today, not next month.
Step 2: Rollers, Hinges, and the Lubrication Points You Skip
Rollers and hinges are where garage door maintenance actually pays off. They’re cheap parts, easy to access, and their failure is what drives most unnecessary repair calls in Lindenwood Park. In our experience, more “my opener is dying” calls turn out to be a seized roller than a worn motor. The opener gets blamed because it’s the part that makes the noise, but it’s usually just the muscle pulling against resistance it shouldn’t be fighting.
Here’s what to inspect, and how:
- Rollers. With the door closed, look at each roller from the side. Nylon rollers should be smooth and round. Steel rollers should have no flat spots. Any flat spot, crack, or wobble means replacement.
- Hinges. Open the door about halfway and check each hinge for play. A hinge that wiggles when you push the panel by hand is worn. Worn hinges let panels shift, which is what tears up cables.
- Hinge pins. The pin that runs through each hinge is spring-steel and shouldn’t wobble in its hole. A pin that sits loose is a sign the hinge is ready to fail.
- Bolts and fasteners. Give each bolt on the hinge plates and the bottom bracket a light touch. If it turns by hand, it needs tightening to spec.
The Lubrication Points Most Homeowners Skip
Everyone remembers to spray the rollers. Nobody remembers the four spots below, which is exactly why they freeze up first and surprise the homeowner later:
- The hinge knuckles. The pin that runs through each hinge needs a drop of lubricant at the knuckle. A dry hinge knuckle is the number one source of a squeak that appears only in cold weather.
- The spring coil ends. Where the torsion spring meets the drum anchor plate, the coil rubs. A small amount of lubricant there silences the chirp that many homeowners mistake for a failing spring.
- The bearing plates. The cast-metal plates at each end of the torsion bar have bearing surfaces that seize silently. You won’t hear them – your door will just start hesitating at the top of travel.
- The opener rail and trolley. The rail on a chain or belt-driven LiftMaster or Chamberlain unit needs a light wipe and lubricant where the trolley slides. Most homeowners don’t realize this is even a serviceable part.
- The bottom bracket rollers. The rollers at the lowest corner of the door take the most stress and the most dirt. They’re also the hardest to reach, which is why they’re skipped the most often.
Use a proper garage door lubricant, not WD-40 or household oil. A lithium or silicone spray keeps the rollers rolling, but a thin oil attracts dust and grit that ends up grinding the rollers. We stock the right lubricants and rollers directly because it saves a second trip – if we’re out for a hinge check and a roller needs replacement, we have it.
Step 3: Tracks, Brackets, and Bolted Hardware
Track problems are deceptively simple. A bent track looks minor, causes a roller to jump, and if gone unfixed, wears a panel edge until the door needs a full panel replacement. On a Lindenwood Park door facing a driveway that sees freeze-thaw cycles, tracks are also more likely to shift, because the concrete under the door expands and contracts through the year. A driveway slab that has settled slightly is enough to tip the vertical track out of plumb.
Here’s the check:
- Vertical alignment. Stand at the door and look up each vertical track. It should be straight from bottom to top. A visible bow or lean means the track needs realignment.
- Horizontal track level. The overhead track should run parallel to the ceiling. A slight dip in the middle is fine; a bend is not.
- Roller contact. Every roller should sit fully inside its track channel without riding on the edge. A roller riding the edge is a track that’s spread or crushed.
- Wall brackets. The brackets that anchor the track to the wall are load-bearing. If the bracket has pulled away from the wall or the bolts are loose, do not open the door until it’s fixed – a track that lets go under load bends panels and can drop the door.
- The center bearing plate. The plate that holds the torsion shaft at center should be solid against the wall. Looseness here is a spring-side problem masquerading as a track problem.
If a track is bent, we can usually straighten it in place on a residential door – a service call that costs far less than waiting for a bent track to take out a roller, then a hinge, then a panel.
Step 4: Opener, Safety Sensors, and the Balance Test
By the time you reach the opener, you’ve checked the mechanical parts it depends on, so you know if a motor complaint is real. On any LiftMaster or Chamberlain unit – or a Genie, Craftsman, or Raynor opener – the same three checks apply. On Clopay door systems, the opener and door are often installed together and are tuned to each other; a Clopay door with a stiff roller can drag down its opener faster than the opener alone would ever fail.
- Safety sensor test. Close the door with the opener. Wave a hand across the sensor beam at the bottom of the tracks. The door should reverse immediately. If it doesn’t, the sensor needs service before anyone uses the door again – this is a safety system, not a convenience feature.
- Force and travel test. Press the opener button and watch the door. The opener should lift it smoothly and stop at a consistent height. A door that reverses unexpectedly or stops short is telling you the force setting has drifted, or a bind has developed, or the travel limits need adjustment.
- Balance test at the disconnect. Pull the release cord, lift the door halfway by hand, and let go. It should stay where you left it. If it drifts down, the springs are losing tension. If it drifts up, the springs are over-tensioned. Either reading means the opener is compensating for a spring problem, and the spring should be fixed before the opener burns out.
Safety sensors fail for two common reasons in this climate – lens fogging from summer-to-winter humidity swings, and gnat and spider activity in the emitter lens. A dry cloth and a quick test tell you which it is. If the sensor’s light isn’t solid after cleaning, it’s a wiring or alignment issue, and our garage door opener repair page covers the common causes. Smart-home openers have added a layer too: if your MyQ or smart bridge has stopped reporting to the app, the sensor isn’t the problem – the network module is, and that’s a service call.
Step 5: Weather Seal, Bottom Rubber, and Panel Condition
The bottom seal is the last check in the sequence, but in Lindenwood Park it’s where the St. Louis climate pays its highest dividends for the least money. A cracked bottom seal lets in moisture, which corrodes the bottom bracket and hinge pins, which is the beginning of the same failure chain you just walked. Replacing a bottom seal is one of the cheapest maintenance items on the list, and skipping it is one of the fastest ways to raise the cost of a repair.
Check the seal this way:
- The daylight test. Close the door from the inside, turn off the lights in the garage, and look for any line of daylight under the door. Any light band is a seal that’s failed at that point.
- The dollar bill test. Close the door on a dollar bill across a few points along the bottom. A properly seated seal grips the bill firmly on all points. A loose grip means the seal is no longer compressing.
- The panel look. Examine the bottom panel edge for rust or bubbling paint. Rust on the bottom rail is the most common panel damage in this climate and the earliest sign of a failed seal.
- The side and top weatherstrip. The felt or vinyl strips on the vertical sides and top should contact the door without gaps. A side seal that pulls away lets in wind and animals.
If your door is past the point where replacement seals help – panels rusted through, multiple broken sections, years of weather exposure – the better investment is garage door installation rather than chasing repairs. A new door with a fresh seal is cheaper over a ten-year window than repeatedly patching panels on an old one.
The Lindenwood Park Month-by-Month Maintenance Calendar
Lindenwood Park’s seasonal swings matter because the St. Louis climate puts garage door systems through a specific stress pattern that differs from coastal or desert climates. Here’s the calendar we suggest for homeowners in this part of the city:
- March through April. Post-winter inspection. Check springs and cables for wear after the cold season, and inspect the bottom seal for cracks caused by winter contraction. Lubricate every hinge knuckle and the opener rail.
- May through June. Pre-summer check. Tighten every bolted connection on hinges and brackets. Check rollers for flat spots – heat can exaggerate existing wear. Clean safety sensor lenses.
- July through August. Peak heat and peak humidity. This is when hinge pins and roller bearings seize most often. A full lubrication pass mid-summer protects the heaviest-use hardware. Watch for opener force drift as temperature swings.
- September through October. The most important pre-winter month. Deep check on springs and cables before the first freeze. Verify the bottom seal and weatherstripping before winter wind. Any spring with visible wear gets replaced now, not in January.
- November through February. Cold snap watch. Spring failure peaks here. If the door gets sluggish in cold weather, it’s a sign the springs are losing tension. Lubricate lightly during the cold months to prevent hinge freeze.
A ten-minute visit through Steps 1 through 5 once a month covers the full checklist. The late fall deep check is where you spend the extra half-hour. Our technicians see the seasonal difference every year – the calls we get in February trace back to something that showed up in September.
The Exact Moment to Stop and Call a Specialist
There’s a specific moment in this checklist where homeowner work stops being helpful and becomes dangerous, and it’s worth naming clearly. The moment is any time your inspection finds a problem with the springs, the cables, or the bottom bracket assembly.
Specifically, stop and call a specialist if you see any of the following:
- A visible gap in the torsion spring coil, or a visible stretch in an extension spring
- A cable that’s slack, has slipped off a drum, or shows any fraying whiskers
- A bottom bracket that’s loose from the panel or bent
- A door that lifts too easily or feels dead-heavy at the disconnect
- Any creaking, popping, or groaning from the spring assembly while the door is running
Garage door springs and cables store lethal energy. The torsion bar can snap under tension. The cables carry the full weight of the door. There are no exceptions to the rule that adjustment, replacement, or repair of springs, cables, and bottom brackets is specialist work. A trained technician understands the load path and works with the system properly unloaded. It’s not a question of experience or confidence. It’s a question of physics.
Our garage door repair Lindenwood Park service handles all of these cases with the correct tools and a proper understanding of the specific door and spring system on your home.
Common Mistakes to Avoid
- Checking the opener before the mechanical parts. A grinding or straining opener is usually reporting a failed roller or hinge, not failing itself. Testing the opener first leads to replacing a motor that wasn’t the problem, and the new one burns out the same way.
- Lubricating with WD-40. WD-40 is a water displacer, not a garage door lubricant. It attracts dust that gums up rollers and hinge pins. Use a lithium or silicone spray designed for garage door hardware.
- Skipping the low-angle cable check. If you only look at the cables from directly underneath with overhead light, you’ll miss most fraying until the cable snaps. Use the side-angle silhouette method described above.
- Adjusting spring tension yourself. This is the most common mistake we hear about, and it’s dangerous in a way that doesn’t show its hand until it does. Springs carry lethal stored energy. This is a call-a-specialist job, no exceptions.
- Ignoring the bottom seal past the daylight test. A homeowner sees daylight under the seal, assumes it’s minor, and lets the moisture work on the bottom bracket and hinge pins for another year. Seal replacement is cheap; bottom bracket and panel replacement isn’t.
- Skipping the late fall check. In the Lindenwood Park climate, the September and October check is the most valuable of the year. Spring failure peaks in the first cold snap, and the pre-winter check is when you catch it while it’s a repair instead of an emergency.
- Assuming a new door is cheaper than maintenance. In our experience, a door that gets a monthly walk-through and an annual deep check outlasts a neglected door by a significant margin. Maintenance is the cheaper option until the panels have actually rusted through.
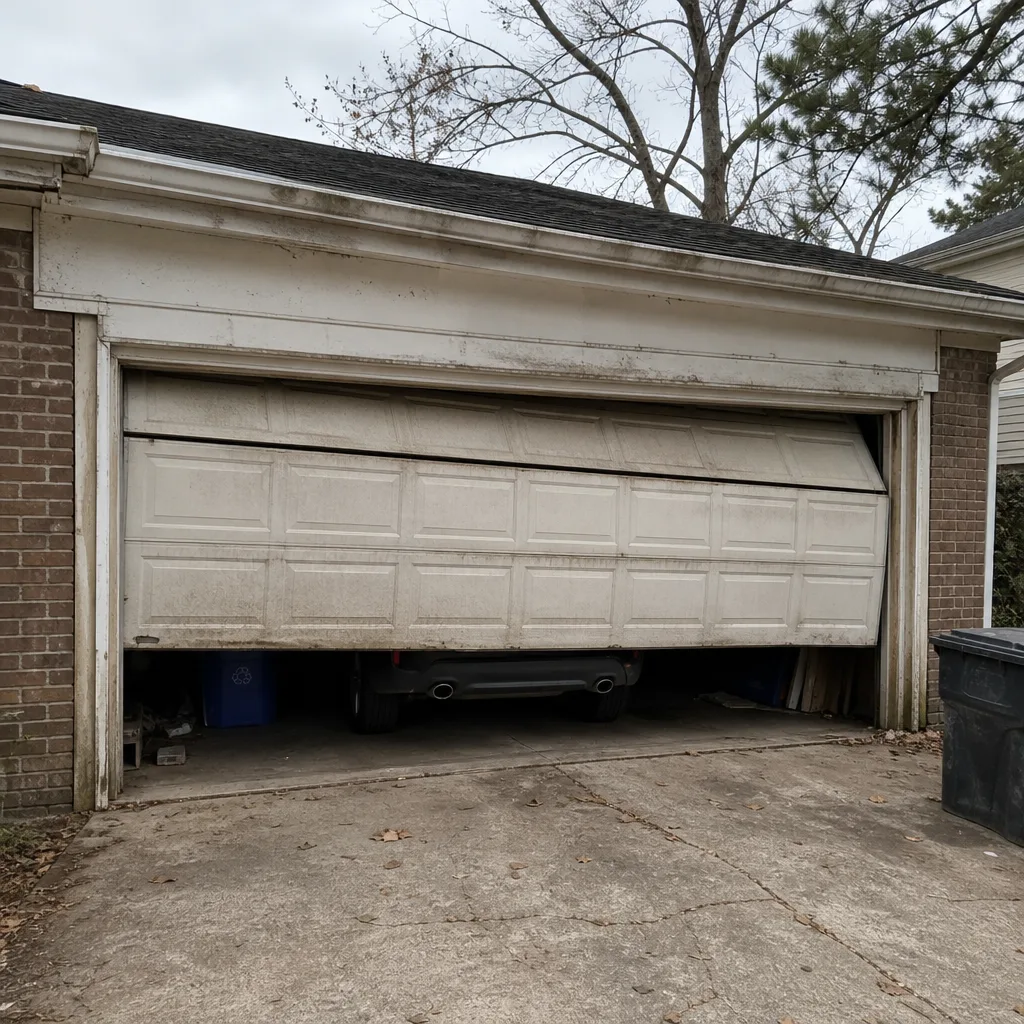
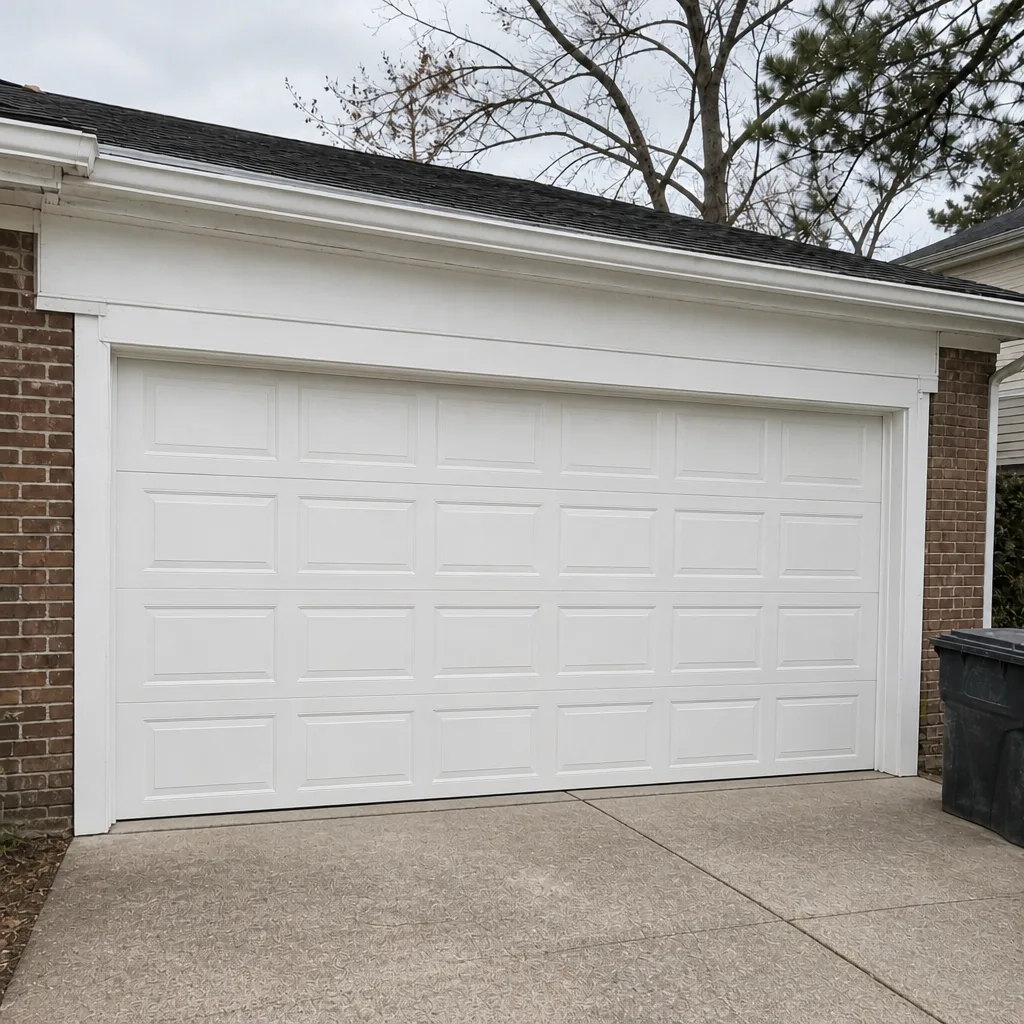
See the difference
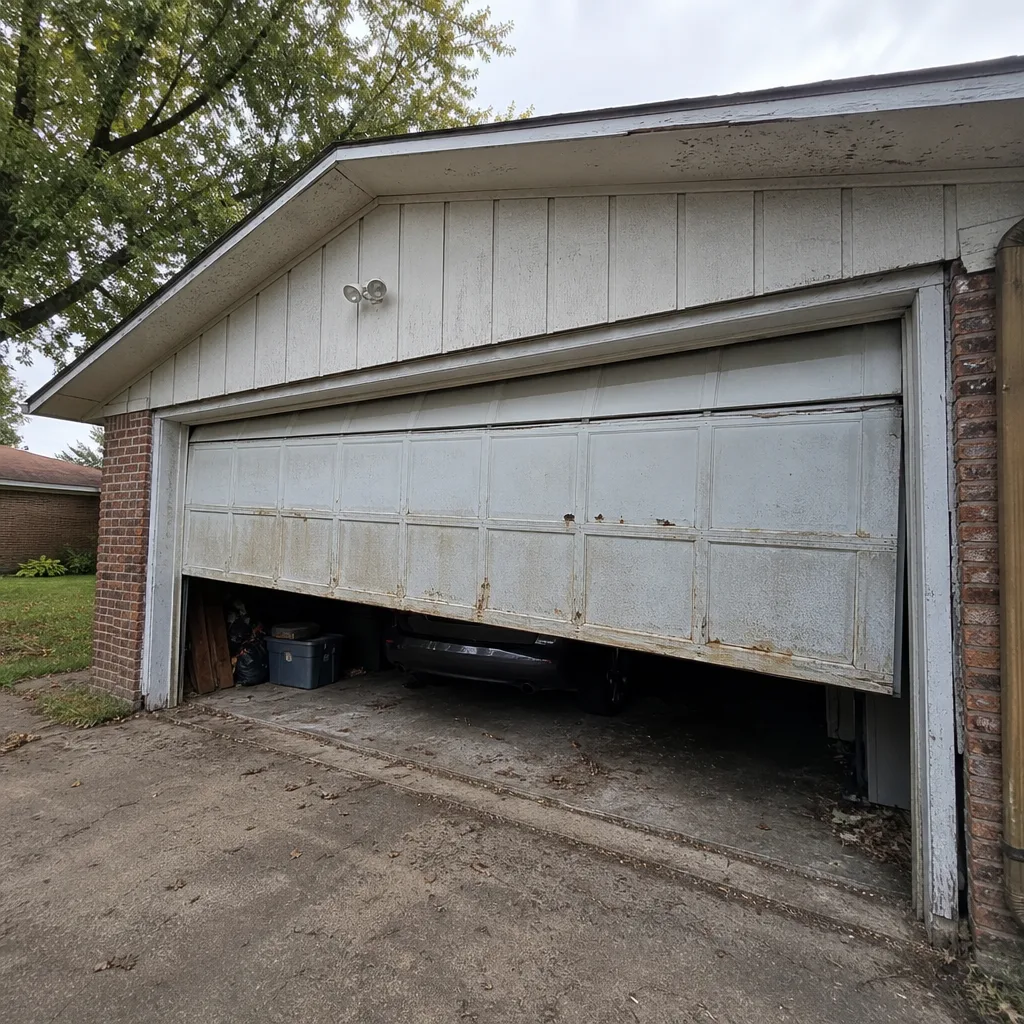 Before
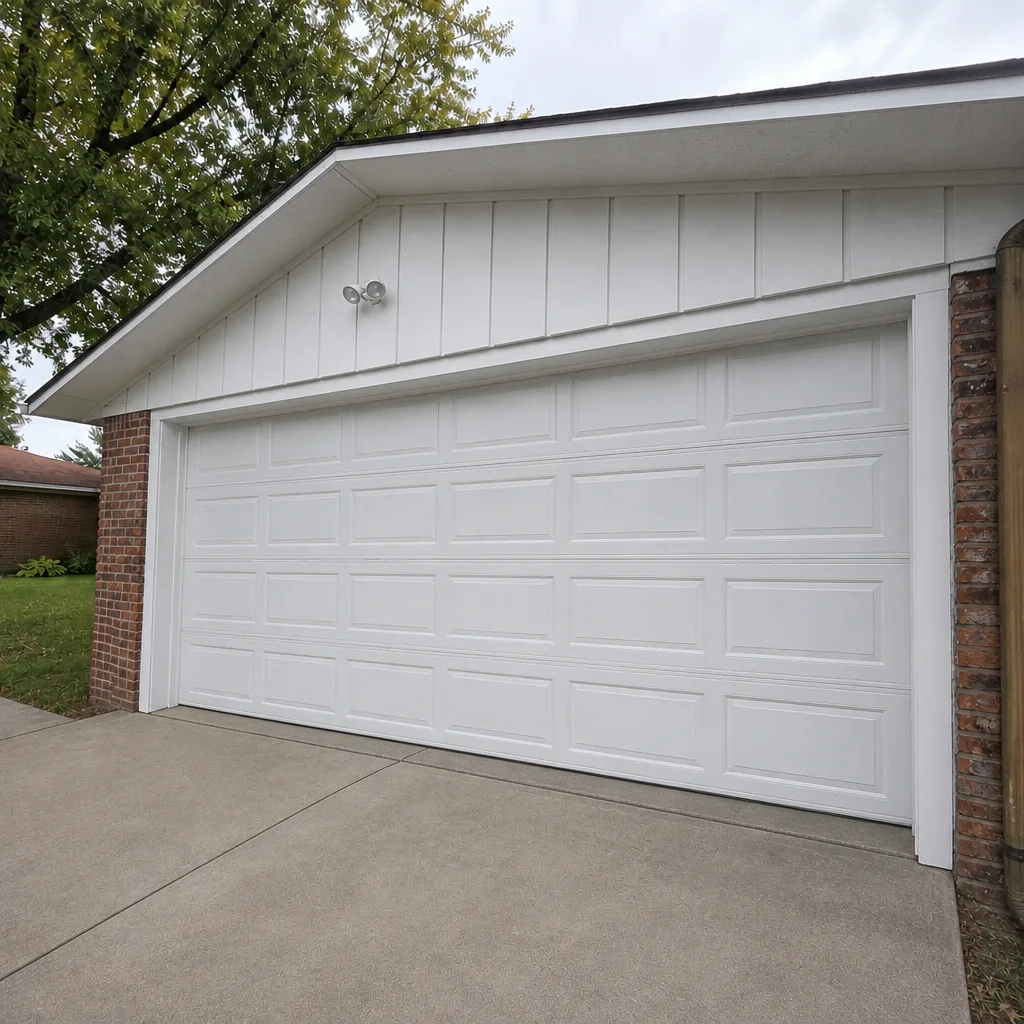 After
 Before
 After
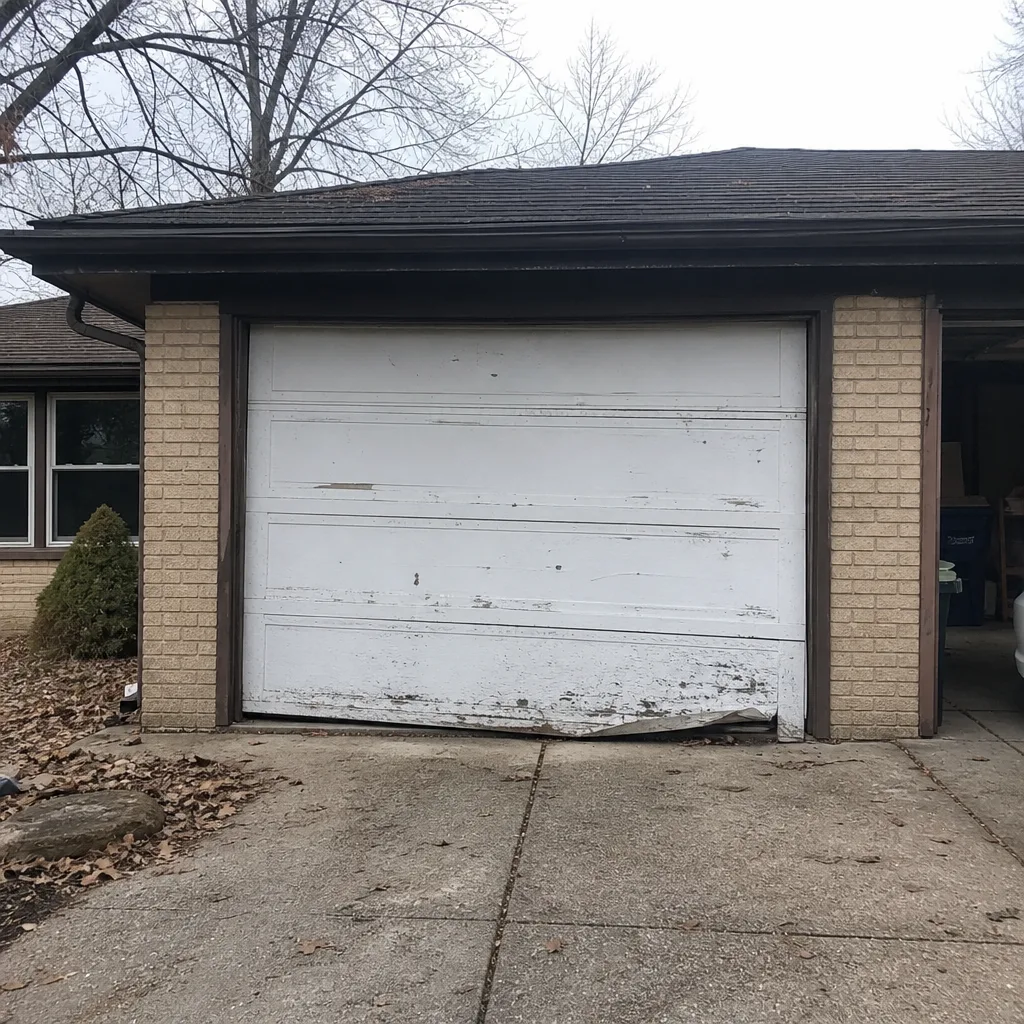 Before
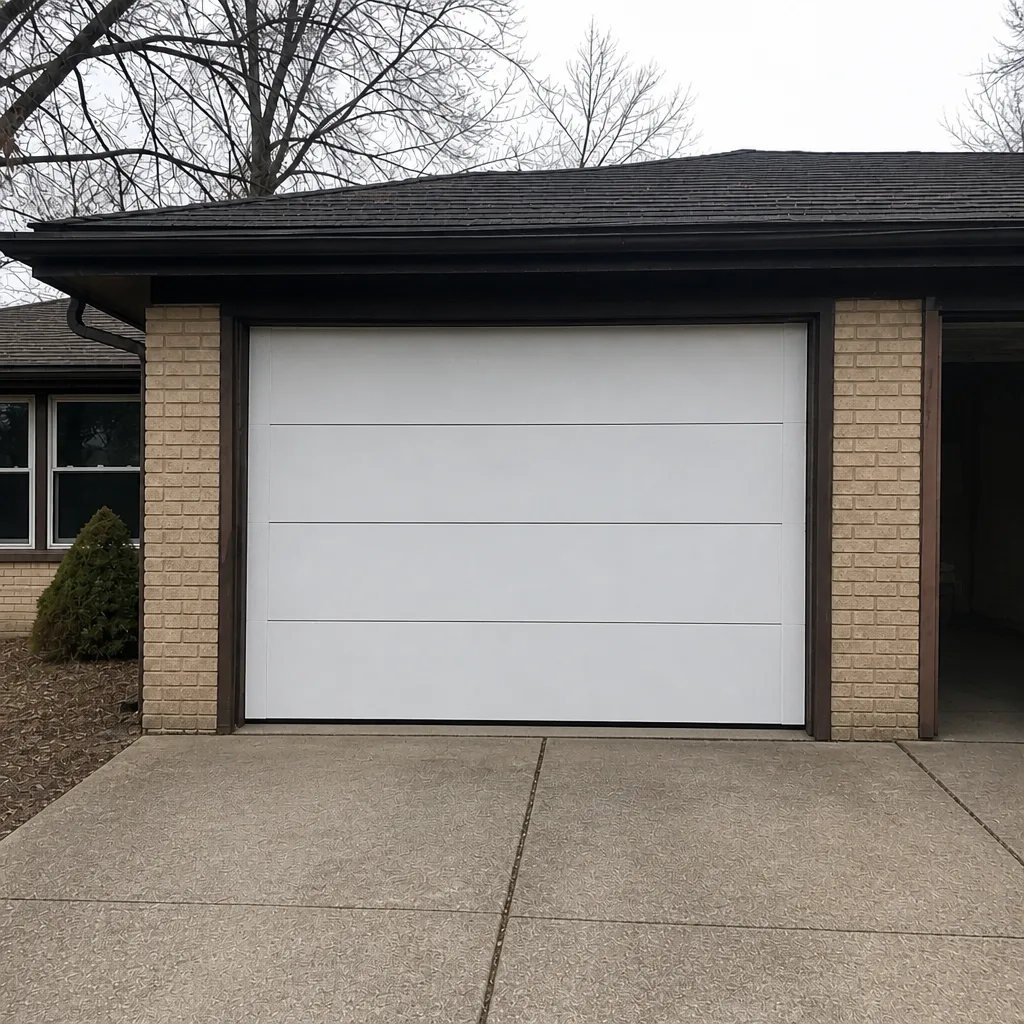 After
When to Call a Professional
Call a specialist the moment you spot a problem with springs, cables, or the bottom bracket assembly – those are non-negotiable. Also call when the door is out of balance at the disconnect test, when the opener reverses on its own, when safety sensors don’t respond, when the door runs unevenly or you hear grinding, popping, or scraping from the overhead assembly. A bent track that keeps the door from closing fully, or a panel that’s visibly bent after a mis-hinge, is specialist work too. Our technicians have up to 15 years of experience across LiftMaster, Chamberlain, Genie, Clopay, Amarr, Wayne Dalton, Craftsman, and Raynor systems, so we work on your brand on the first visit rather than looking up the model in the driveway.
Garage Door Repair Lindenwood Park offers free estimates in Lindenwood Park – call (866) 566-2905. We answer 24/7, with fast dispatch from 7am to 7pm, Sunday through Friday. The price is quoted and agreed in a written estimate before any work starts, so there’s no surprise on the invoice.
Frequently Asked Questions
A ten-minute visual walk-through once a month, plus a deeper check in September or October before the first freeze. The St. Louis climate puts a lot of stress on springs and hardware through the winter, so the pre-winter check is the one that saves the most money. If the door gets heavy use, monthly checks should include the balance test every time.
Spring repair is priced per job by a written estimate, and a torsion spring replacement is one of the more common repair calls we handle. We quote before we start, so the estimate you agree to is the price on the invoice. Call (866) 566-2905 for an exact quote – estimates are free.
Yes, with a strict rule: visually, from the floor, without touching anything under load. You can see a gap in a coil, hear a stretched extension spring, and perform the balance test at the disconnect. What you cannot do is adjust a spring, unbolt a bottom bracket, or work on a cable. Those three tasks are specialist work, every time. A trained technician is the only safe path on those.
Cold weather contracts the steel spring and thickens the lubricant on a hinge, which increases resistance. A door that’s slightly stiff in cold weather is a maintenance item; a door that won’t lift is a spring that’s reached the end of its life. In our experience, cold-weather sluggishness that gets worse over a few weeks is the early signal that a spring replacement is coming. Call (866) 566-2905 to book a free estimate.
Pull the release cord and lift the door by hand. If it’s hard to lift or won’t stay where you leave it, the door’s mechanical system – springs, cables, rollers, hinges – is the problem. If the door moves easily by hand but the opener struggles or reverses, the opener is the issue. This single test tells you which service to book. Call (866) 566-2905 and we’ll help you figure out which is more likely before we dispatch.
No. We quote from what we see on inspection and put the price in a written estimate before any work starts. If the inspection turns up something the estimate didn’t cover, you get an updated quote and agree to it before the technician proceeds. The written estimate sets the final price. Call (866) 566-2905 for a free estimate.
The Bottom Line
A garage door checklist works because the order is right, not because it’s long. Springs and cables first, then rollers and hinges, then tracks, then the opener, then the seal. Walk the sequence once a month in ten minutes, spend the extra half-hour on the late-fall deep check, and listen to the door between visits. In Lindenwood Park, the seasonal calendar does half the work for you – the pre-winter check catches what the spring and fall cycles would otherwise break. Anything that touches springs, cables, or the bottom bracket is specialist work, no exceptions. Everything else you can inspect yourself and book with confidence when the reading says call.
If this month’s walk-through turned up something, or if the door is due for a check you’ve been putting off, call (866) 566-2905. We answer 24/7, with fast dispatch from 7am to 7pm, Sunday through Friday, and we’ll quote a free written estimate before any work begins – on your brand, with the parts on hand.
Written by the team at Garage Door Repair Lindenwood Park.