
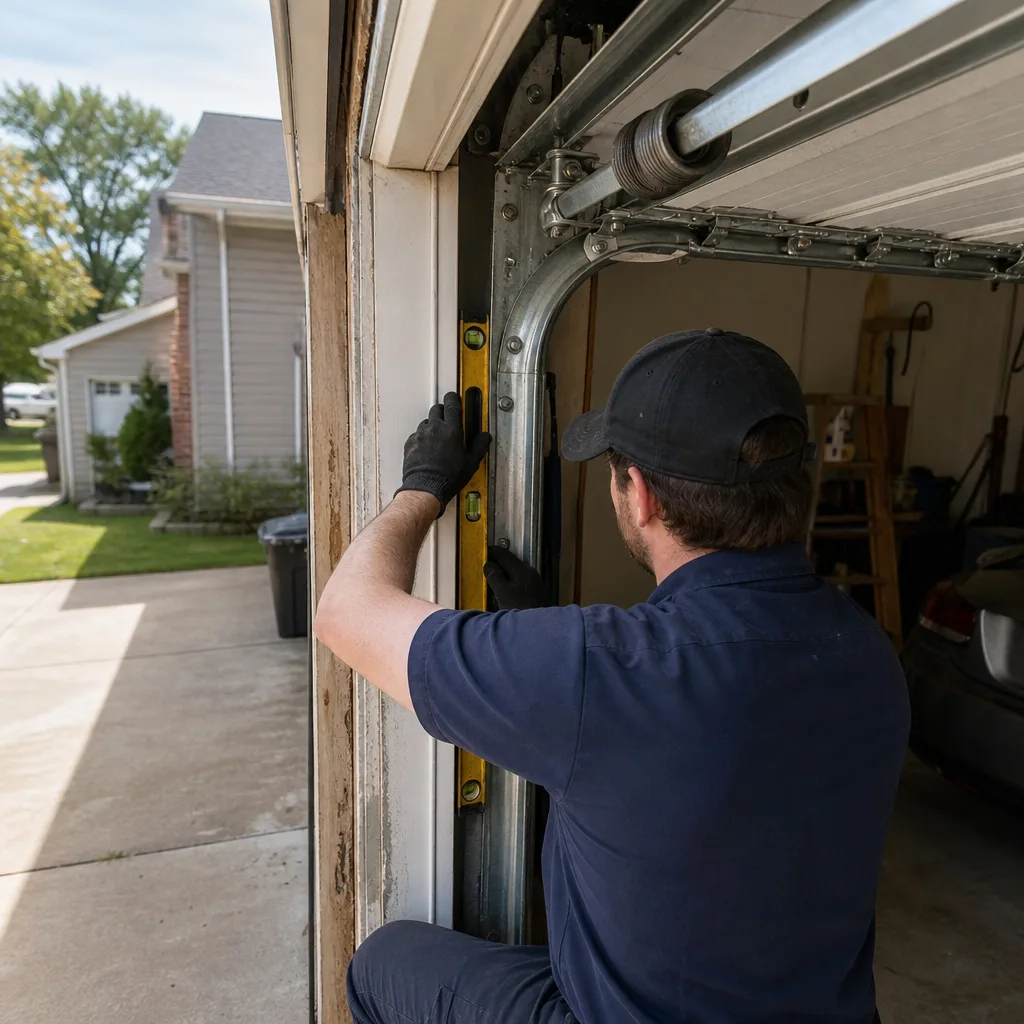
Last updated November 21, 2026
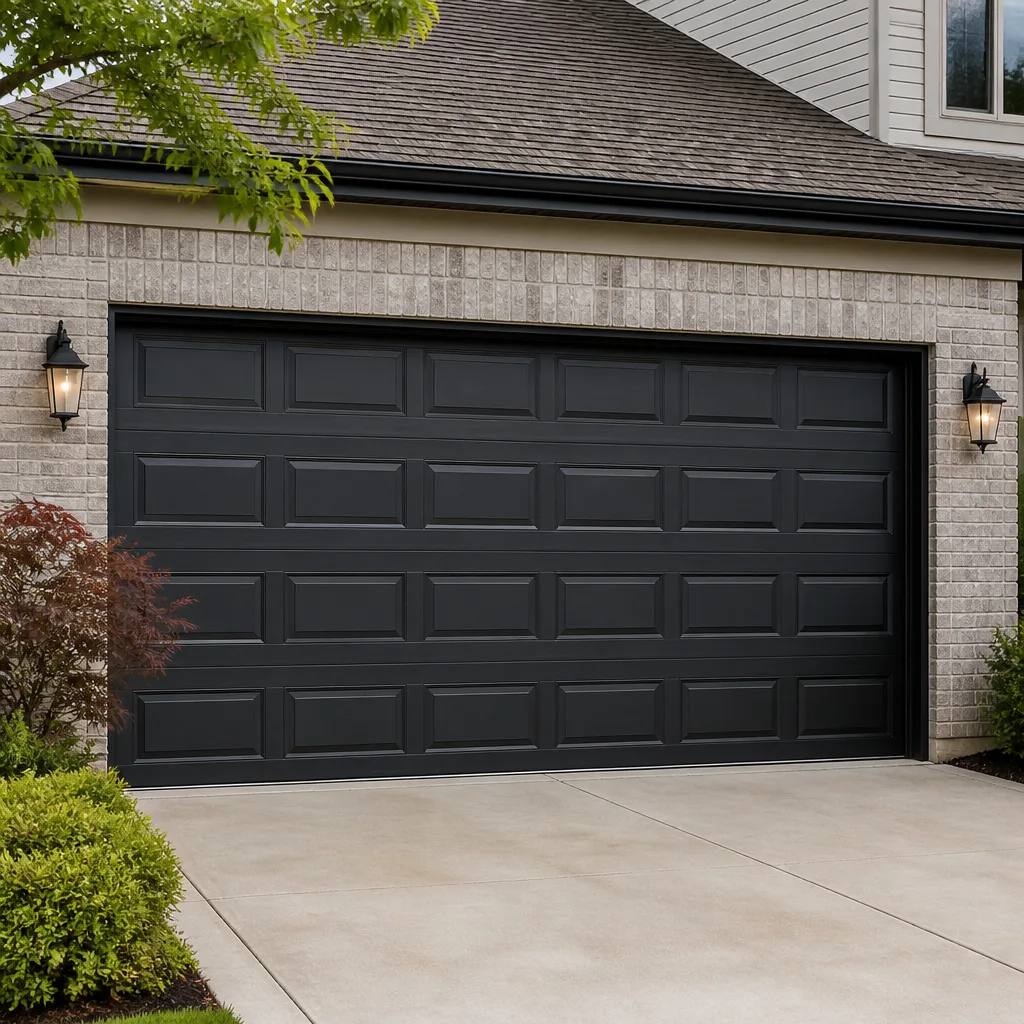 Raised-panel steel
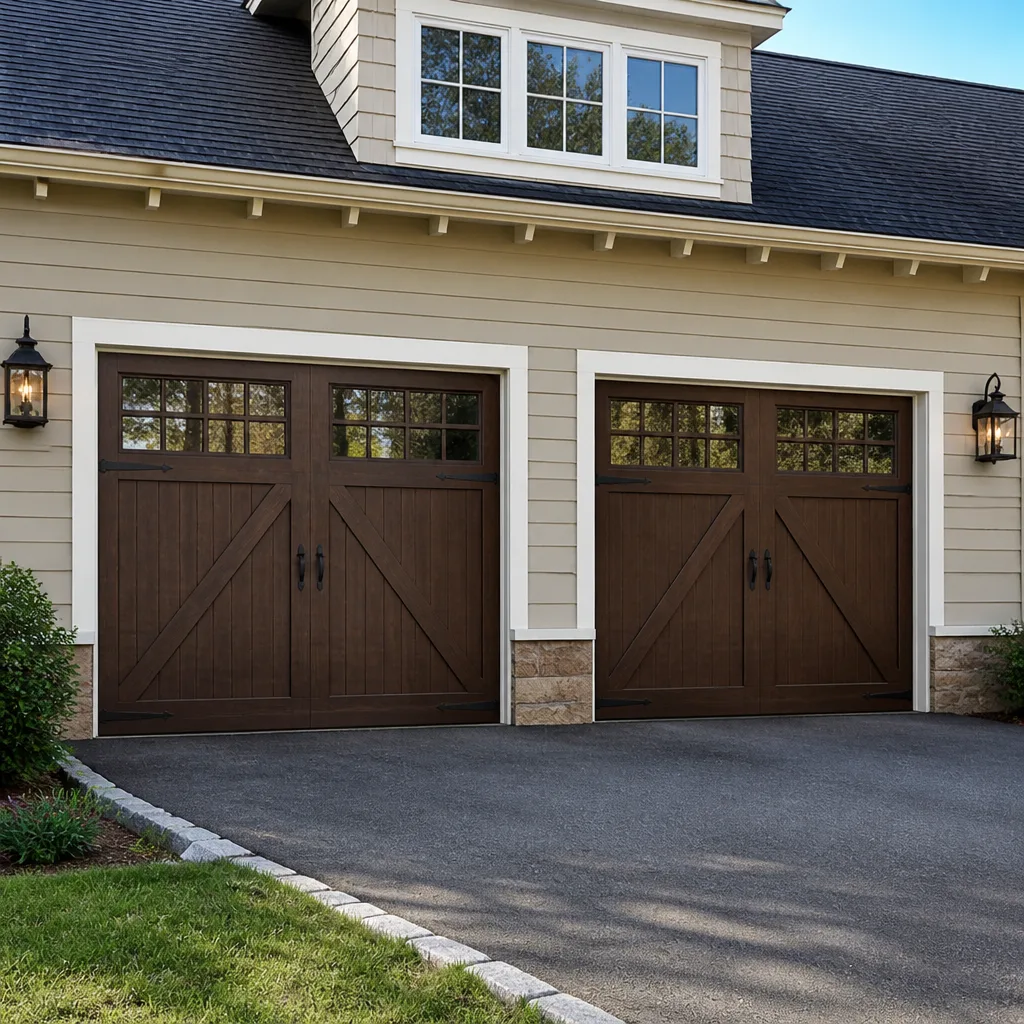 Carriage house
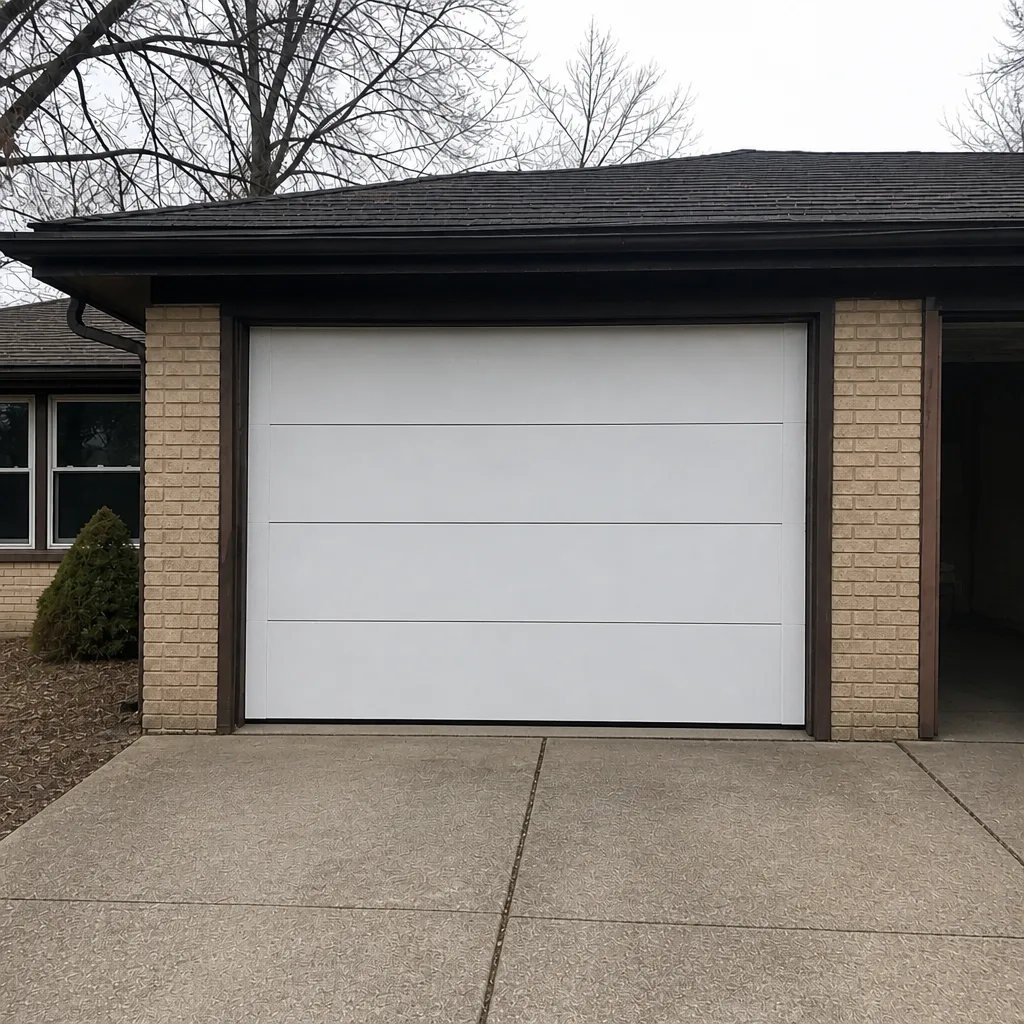
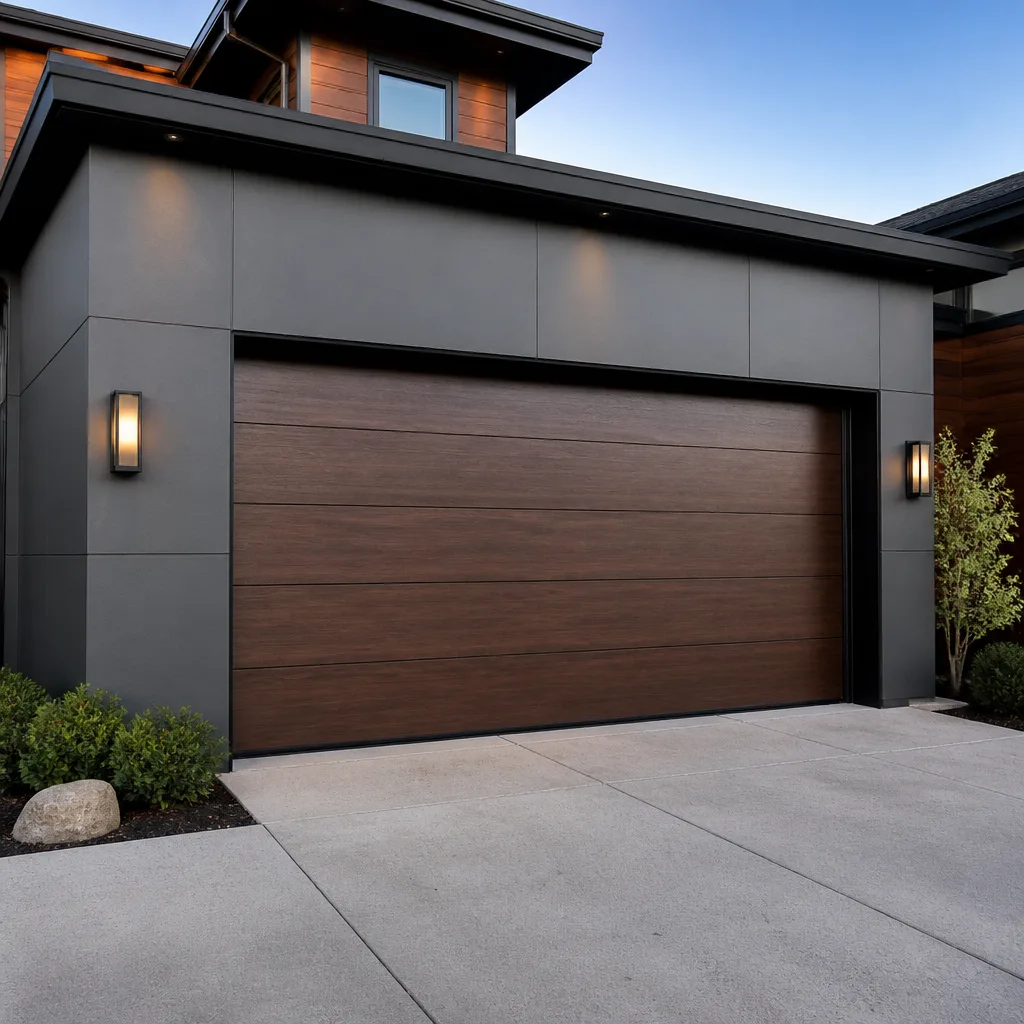 Modern flush
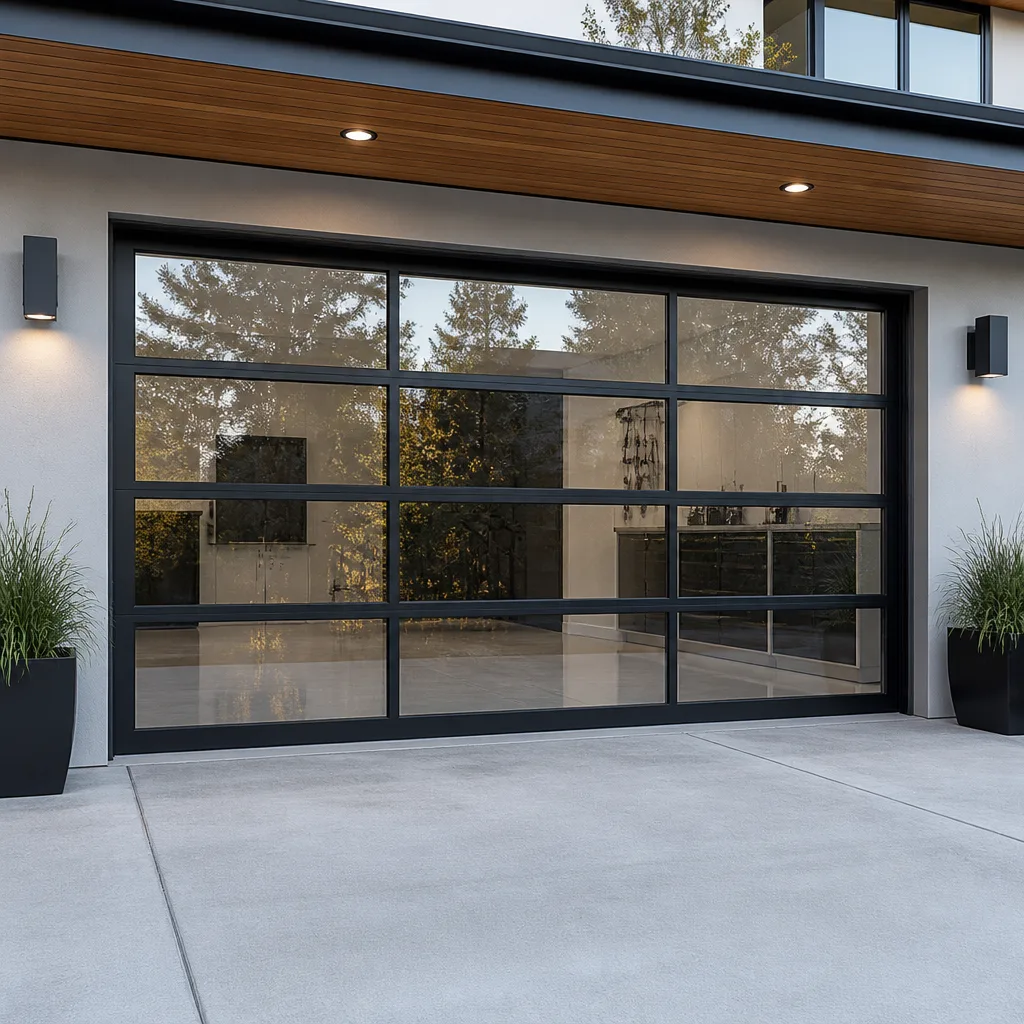 Full-view glass
 LiftMaster openers
 Chamberlain openers
Full 25-point door and opener safety check with every visit - springs, cables, rollers, tracks, and your LiftMaster or Chamberlain opener included
You get a price before we start. It does not change when the pro arrives.
Get your free estimateDIY vs Professional Garage Door: The Lindenwood Park Homeowner’s Decision Guide
Most homeowners who get hurt or overpay on a garage door project started out confident. The confusion usually isn’t about skill. It’s about which parts of the door are safe to touch and which ones are not, and almost nobody explains the line clearly. A garage door isn’t a single mechanism. It’s a spring system, a cable system, a track system, an opener, and a set of safety devices, and each one has a completely different failure profile. This guide walks through that line one component at a time so you can decide with actual information instead of a general sense of “I’m pretty handy.” A torsion spring under load stores enough energy to break a wrist or send a car windshield across the driveway in a single uncontrolled release, and watching a video first doesn’t change that. If you live in Lindenwood Park and your door is stuck, grinding, or sitting crooked, the next few minutes will tell you whether this is a Saturday project or a call.
Quick Answer
Safe DIY work on a garage door is limited to the outer layer: visual inspection, tightening track bolts, lubricating rollers, cleaning and adjusting safety sensors, and replacing openers or remotes. Anything that involves a torsion spring, a cable, a cable drum, or a bottom bracket is professional work, because those parts hold stored mechanical energy that can release in under a second. Everything in between, like adjusting the travel limits on an opener or squaring a slightly off-track door, depends on how recently the system was serviced and how confident you are reading a manual. When in doubt, the part with stored energy is never the part to guess on.
Styles & brands we work with
- Raised-panel steel
- Carriage house
- Modern flush
- Full-view glass
- LiftMaster openers
- Chamberlain openers
Table of Contents
- How to Frame the Decision Before You Touch Anything
- What Is Genuinely Safe to DIY on a Lindenwood Park Garage Door
- The Parts That Are Professional-Only: Springs, Cables, and Cable Drums
- The Gray Zone: Jobs That Depend on Your Experience
- DIY vs Professional Cost: The Real Comparison
- The Diagnostic Step That Decides Whether This Is a $20 Fix or a $400 Fix
- How DIY Repairs Can Void a Manufacturer Warranty
- When to Call a Professional
How to Frame the Decision Before You Touch Anything
Strip away the handyman mindset and the question narrows fast. Every garage door job in Lindenwood Park falls into one of three categories based on one factor: whether the component holds stored mechanical energy while you’re working on it. That’s it. Not complexity, not how much torque a bolt needs, not how many steps are in a manual. Energy.
A track bolt holds none. A spring holds a lot, all the time, even when the door looks dead still. Cables are held in tension by the spring, which means they carry the same risk without looking like they do. Understanding this changes how you read every tutorial you’ll find. A video can teach you the sequence of steps to wind a torsion spring. It cannot give you a feel for the tension, and it can’t hand you the right tool at the right angle. In our experience, that gap between instructions and feel is where things go wrong.
So before you pick up a tool, work through three questions in order:
- Does the part I’m about to touch hold tension or energy? If yes, stop. That job is professional.
- Is the problem mechanical or electrical? Mechanical problems on the outer frame are often manageable. Electrical problems at the opener or the safety sensors come down to whether you can safely trace low-voltage wiring and read the opener’s manual.
- Is the door still under a manufacturer warranty? If it is, a DIY repair might cost you the coverage on the whole system. We cover that below.
If the answer to the first question is yes, or you’re unsure, a pro visit costs far less than a hospital bill or a bent door panel. An experienced set of hands is also faster: reading an unfamiliar opener model is something that takes a trained technician minutes, and can take a homeowner an entire afternoon of hunting through forums. That’s why the rest of this guide is organized by component, not by symptom.
What Is Genuinely Safe to DIY on a Lindenwood Park Garage Door
A real list of safe DIY work is much shorter than the internet suggests. It covers maintenance and the outer electronics, not repair of the load-bearing system. As long as you follow the manufacturer’s manual and avoid the spring and cable path, these jobs are reasonable to do yourself. Lindenwood Park’s housing stock includes a lot of older garage doors alongside newer insulated doors, and both benefit from the same routine attention.
- Visual inspection. Look along the springs for rust or a visible gap. Check the cables for fraying at the bottom bracket. Check the rollers for flat spots. This costs nothing and is the most useful thing you can do.
- Lubrication. A light coat of manufacturer-approved garage door lubricant on the rollers, hinges, and track reduces noise and wear. Never spray the spring, and don’t oil the track surface itself.
- Tightening track bolts. A door that shudders or rattles is often just loose hardware. Snug the bolts that hold the track brackets. Do not move the track to change the door’s alignment; that’s a different job.
- Safety sensor cleaning and alignment. If the door reverses randomly or won’t close, the photocell eyes on each side of the opening are the first thing to check. Wipe them, confirm neither is blocked, and use the opener’s indicator light to see whether the beam is broken.
- Replacing the opener or remote battery. Straightforward on most models, and it fixes a surprising number of “my door doesn’t respond” calls.
- Basic opener programming. Pairing a new remote or changing a keypad code is outlined in the manual for any Genie or Clopay-compatible opener and doesn’t involve the door’s mechanics.
Notice what’s not on this list. Nothing that requires loosening a spring, adjusting cable tension, or working under a door that isn’t locked in place. Those are the next sections, and they’re the reason this guide exists.
The Parts That Are Professional-Only: Springs, Cables, and Cable Drums
Three components are professional-only, and the reason is the same for all of them: stored mechanical energy. Torsion springs, the cables that run along each side, and the cable drums at the top corners of the door frame work as a system. The spring holds the weight of the door. The cables transfer that tension. The drums guide the cable. Interrupting any one of them under load releases the energy in an uncontrolled direction. This is why garage door repair on these parts starts with making the system safe rather than with removing them.
- Torsion springs. Winding or releasing a torsion spring requires the correct winding bars, correct number of turns, and precise understanding of the tension in front of you. A spring that is wound incorrectly or released suddenly can move with enough force to cause serious injury. This is the single most dangerous task in the trade.
- Extension springs. Mounted above the track on each side, these carry the same risk. If one snaps while you’re near it, the force is immediate. Many older doors have a safety cable through extension springs specifically to contain this failure, but the cable doesn’t make replacing the spring a DIY job.
- Cables and cable drums. A cable under tension is hard to tell apart from a slack one by look alone. Working a cable out of a drum, or replacing one, means working against the spring’s tension. Cable and drum failures are also the leading cause of doors that drop suddenly.
- Bottom brackets. These attach the cable to the bottom of the door under full spring tension. The bracket and the cable are one assembly under load. Never remove a bottom bracket to fix a bent panel or a stuck door.
Spring replacement isn’t only a risk decision. It’s a matched-part decision. Torsion springs come in pairs, and both are usually replaced together because they’ve cycled the same number of times. A single replacement on a pair that has aged together usually leads to a callback when the older spring fails. A trained technician can tell you whether your door needs the pair or just one, and quote the job accordingly. A pair costs about twice what one spring does, so the distinction matters on the estimate.
If you’re seeing a snapped spring, a hanging cable, or a door that sits crooked because one side has lost tension, that’s a call now, not a project. Call (866) 566-2905. We answer 24/7. Fast dispatch from 7am to 7pm, Sunday through Friday, closed Saturday. Spring repair done safely is what our technicians do, and the price is set by a written estimate before any work starts.
The Gray Zone: Jobs That Depend on Your Experience
Between the safe list and the professional-only list is a middle band. These jobs don’t require stored-energy work, but they do require reading a manual, tracing low-voltage wiring, or adjusting the door’s geometry. A homeowner who has done one before can usually manage. A first-timer should be cautious. The cost of a pro call on these jobs is usually low because the fix is straightforward once you know what you’re doing.
Replacing or programming an opener
Installing a new opener is a common DIY project and one of the more defensible ones. The opener mounts to the ceiling and drives the door; it does not hold the door’s weight. If you’re comfortable at height and can safely trace the low-voltage wiring to the wall control and the safety sensors, most openers come with clear instructions. This is also where garage door opener repair work becomes relevant later: once installed, opener failures are usually a sensor, a limit switch, or the logic board, and those diagnostics are quicker for someone who already knows the model. Our technicians are factory-familiar with LiftMaster, Chamberlain, Genie, and Craftsman openers, and we stock the parts on hand so a fix doesn’t wait on a third-party order.
Adjusting opener travel limits and force settings
If the door closes and immediately reopens, or doesn’t fully close, the opener’s travel limits are usually the cause. The manual covers this for most models. Be careful here: if you increase the opener’s force setting to overpower a problem, you’ve masked the underlying issue rather than fixed it. That problem is often a spring that has lost tension, or a door that is binding in the track.
Replacing rollers and hinges
Rollers and hinges are removed with the door in the fully closed position, at which point the springs are holding the door’s weight but no extra force. Replacing worn rollers is a reasonable DIY job if you support the door and follow the sequence. Replacing hinges means releasing tension from the panel joints in a specific order; not defensible for a first-timer.
Straightening a slightly off-track door
This one is a judgment call. A roller that has jumped the track on an otherwise sound door can sometimes be reseated safely if the door is fully closed and the track is not bent. A bent track, a busted track bracket, or a door that is out of the track on one side requires the door’s weight to be safely supported before working on it. That’s professional work. Our take: if you can’t close the door all the way to remove tension, stop.
For the full lifecycle of your door, from this decision on a repair to eventually needing a replacement, one specialist is a simpler arrangement than a new call every time. Our guide to garage door installation covers what a replacement looks like when the repair math stops making sense.
DIY vs Professional Cost: The Real Comparison
The DIY-versus-pro cost comparison most homeowners run is incomplete. It counts the part and forgets everything else. The real calculation includes tool rental you’ll only use once, parts you buy wrong because the diagnosis was off, and the callback fee when your first attempt doesn’t hold. Once you add those, the gap between DIY and professional narrows on all but the simplest jobs. Typical estimates for common Lindenwood Park garage door work run in the ranges below; the written estimate is what sets the final price on any specific job.
| Job | Typical range (per job, estimated) | Who can do it |
|---|---|---|
| Safety sensor cleaning or alignment | No cost if DIY | DIY |
| Roller or hinge replacement | Low, parts-only DIY; higher if a pro visit is needed | Either, with care |
| Opener repair (sensor, limit, logic board) | Moderate, varies by brand and part | Professional for diagnosis |
| Single torsion spring replacement | Estimate for one spring; a matched pair costs about twice that | Professional only |
| Cable or cable drum replacement | Estimate per cable and drum | Professional only |
| Full door installation (Clopay, Amarr, or Wayne Dalton) | Measured and quoted per door | Professional |
Now the hidden costs, which is where the DIY math usually breaks down:
- Tool rental. Winding bars, proper spring clamps, and the right size sockets are not in the average homeowner’s toolbox. Rental fees plus a wasted afternoon can exceed the labor on a simple professional fix.
- Wasted parts. Without a clear diagnosis, homeowners buy a spring when the problem is a cable, or buy an opener when the problem is a limit switch. Return policies vary and some parts are non-returnable once installed.
- Callback fees. A DIY repair that fails leaves you paying a pro and redoing the work. Sometimes twice.
- Collateral damage. A dropped door, a bent track, or a cracked bottom pane turns a small fix into a bigger repair. The most expensive outcome of a DIY spring job is a damaged door and a hospital bill on the same day.
One more thing worth saying plainly: the professional visit is not a mystery price. The price is quoted and agreed before any work starts. The written estimate sets the number you pay, not a range that shifts after the technician sees the door. If a job turns out to involve a second failed part, that gets discussed before the second part is installed, not after.
The Diagnostic Step That Decides Whether This Is a $20 Fix or a $400 Fix
Most homeowners skip this step entirely. It’s the difference between a low-cost fix and a high-cost one, and it works in both directions: some people buy an expensive part when a cheap one was the cause, and some people try to fix a small symptom on a dying system that needs replacement. The step is isolating which system is actually failing. There are only three systems on a garage door: the balance system (springs and cables), the track and panel system (the door itself), and the opener. Every symptom traces to one of those three, and each has a specific test.
- The door won’t open and the opener runs. That’s a balance system symptom. Do not keep running the opener; the opener is trying to lift a door whose springs aren’t holding the weight and it will overheat or break its gear. Pull the emergency release, try to lift the door by hand. If it weighs far more than it should, a spring has failed. Professional job.
- The door opens and closes fine but the opener clicks without moving. That’s an opener symptom. Possible causes: the safety sensor is blocked or misaligned, the logic board is failing, or the opener’s internal gear has stripped. Check the sensor first, then look at the opener. If the door moves freely by hand and the sensors are clean, the opener is the issue.
- The door reverses immediately when closing. This is usually a safety sensor, sometimes a limit switch. Check the eyes on each side of the opening. Look up the model’s indicator light behavior in the manual. Ten minutes of this step can save a paid call.
- The door is noisy, shaking, or rattling. Track and hardware. Check the track bolts, the rollers, and the hinges. If the noise is a bang that happens once and the door then sits crooked, stop; that’s a spring failure, not a hardware issue.
- The door is crooked or sits at an angle. One side has lost tension. That’s a cable or spring. Professional job. Do not try to correct it by adjusting the opener or the track.
Running these five tests takes about ten minutes and tells you which of the three systems to look at. If it’s a sensor or a battery, you can fix it yourself. If it’s the balance system, that’s the professional-only category in the section above. If it’s the opener, that’s a diagnosis a technician can confirm quickly. This same diagnostic step is the reason our first question on a call is “is the opener running or silent” rather than “what’s wrong with your door.” It narrows the answer before anyone spends time on a guess.
How DIY Repairs Can Void a Manufacturer Warranty
If your door or opener is still under manufacturer warranty, DIY repair on certain components can void that coverage on the whole system. This is the hidden cost nobody budgets for, and it can be larger than the cost of the repair itself. Garage door and opener manufacturers generally require installation and repair by a qualified technician to keep coverage in force. Removing a torsion spring, cutting into an opener’s wiring, or altering the mounting of an opener are the repairs most likely to be flagged. Brand-specific warranty terms vary, so if your door or opener is under coverage, check the manufacturer’s documentation before you touch anything you’re unsure about.
Two practical points apply in Lindenwood Park:
- Newer doors under a Clopay, Amarr, or Wayne Dalton warranty are easy to check. The door often has a serial plate inside the panel. If the door is under coverage, a DIY adjustment that fails and causes a panel problem can be a warranty question mark. A professional repair on an in-warranty door is usually documented so the manufacturer’s coverage stays intact.
- Your opener has its own warranty, separate from the door. An opener under warranty that’s damaged by a DIY fix may no longer be covered, and the cost of replacing a motor is much higher than repairing it.
This is where a specialist who works with the brand every day is worth the call. Our technicians are familiar with LiftMaster, Chamberlain, Genie, Clopay, Amarr, Wayne Dalton, Craftsman, and Raynor, and we know what a manufacturer expects to see in a repair on each one. No learning curve on your model, no guessing what the factory would have done.
Common Mistakes to Avoid
- Testing the door for weight by hand with the opener engaged. That test is only valid with the emergency release pulled. With the opener still engaged, you’re fighting the motor and you’ll misread the results. Pull the release, then lift.
- Buying a spring without confirming it’s the spring. A crooked door with a bang is almost always a spring. A door that’s noisy and shaking is almost never a spring. Diagnosis comes before purchase, or the part goes back in the box.
- Increasing the opener’s force setting to fix a sticking door. That doesn’t fix the door and it puts extra stress on the opener gear and the door panels. The real problem is a binding track, a tired spring, or a failing roller.
- Lubricating the spring or the track surface. Spring coil lubricant attracts grit and speeds wear. Track surface lubrication works against the door’s ability to move smoothly. Lubricate the rollers, hinges, and pivot points only.
- Ignoring the safety sensor and adjusting the door itself. When a door won’t close, the sensor is the cause more often than the door’s geometry. Check the beam before touching the track.
- Working on a door that isn’t fully closed or supported. Any task near the springs, cables, or track requires the door in a fixed position under known tension. A door in mid-travel is a door that can move.
- Assuming a track adjustment will fix a panel problem. A bent panel can pull the door off the track. Adjusting the track to accommodate it hides the real problem and leads to a bigger repair or a full replacement.
See the difference
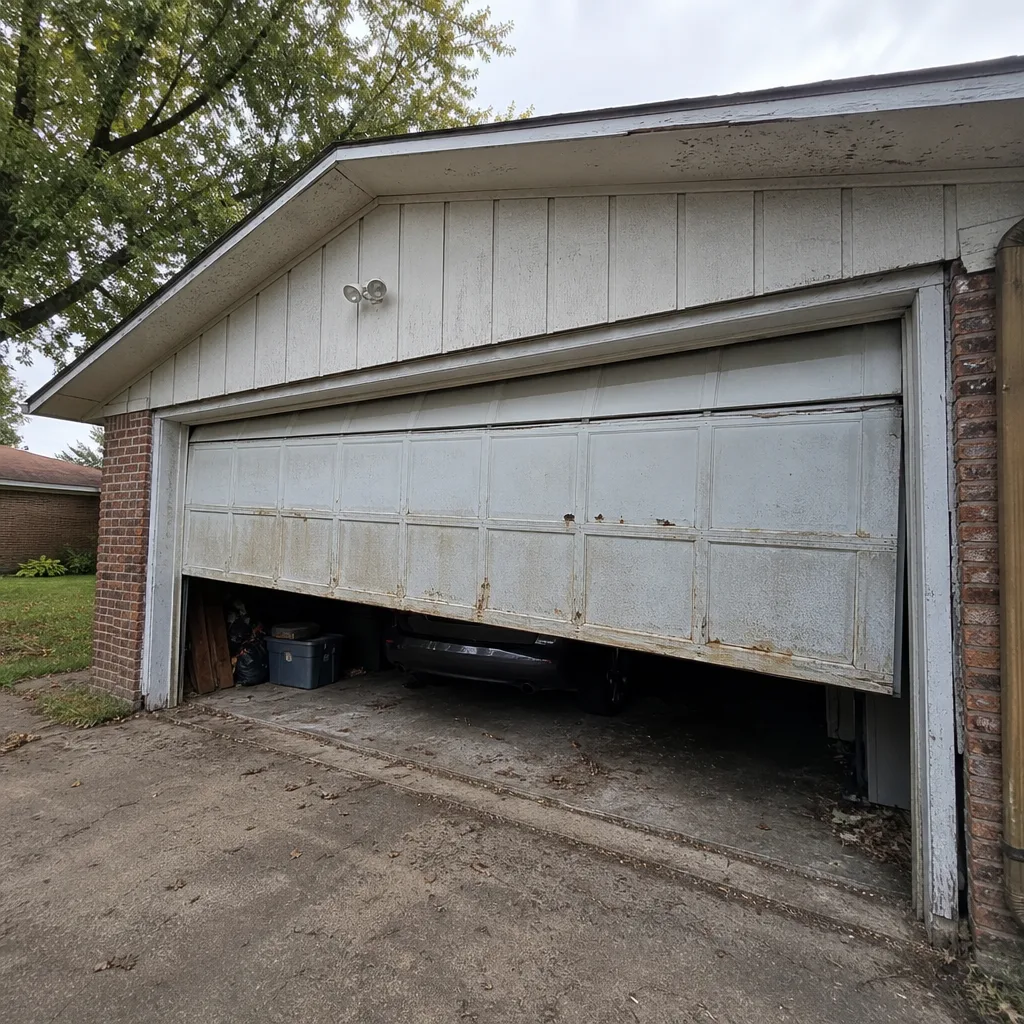 Before
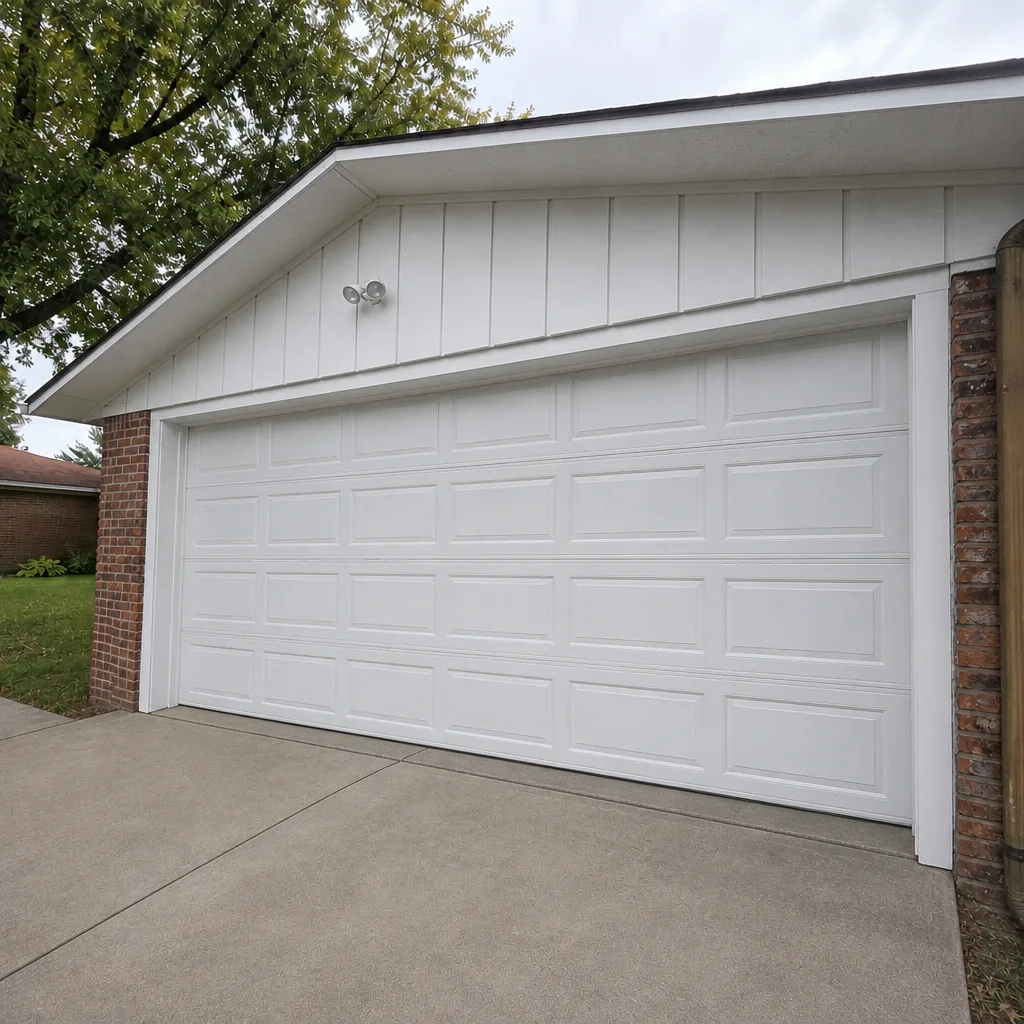 After
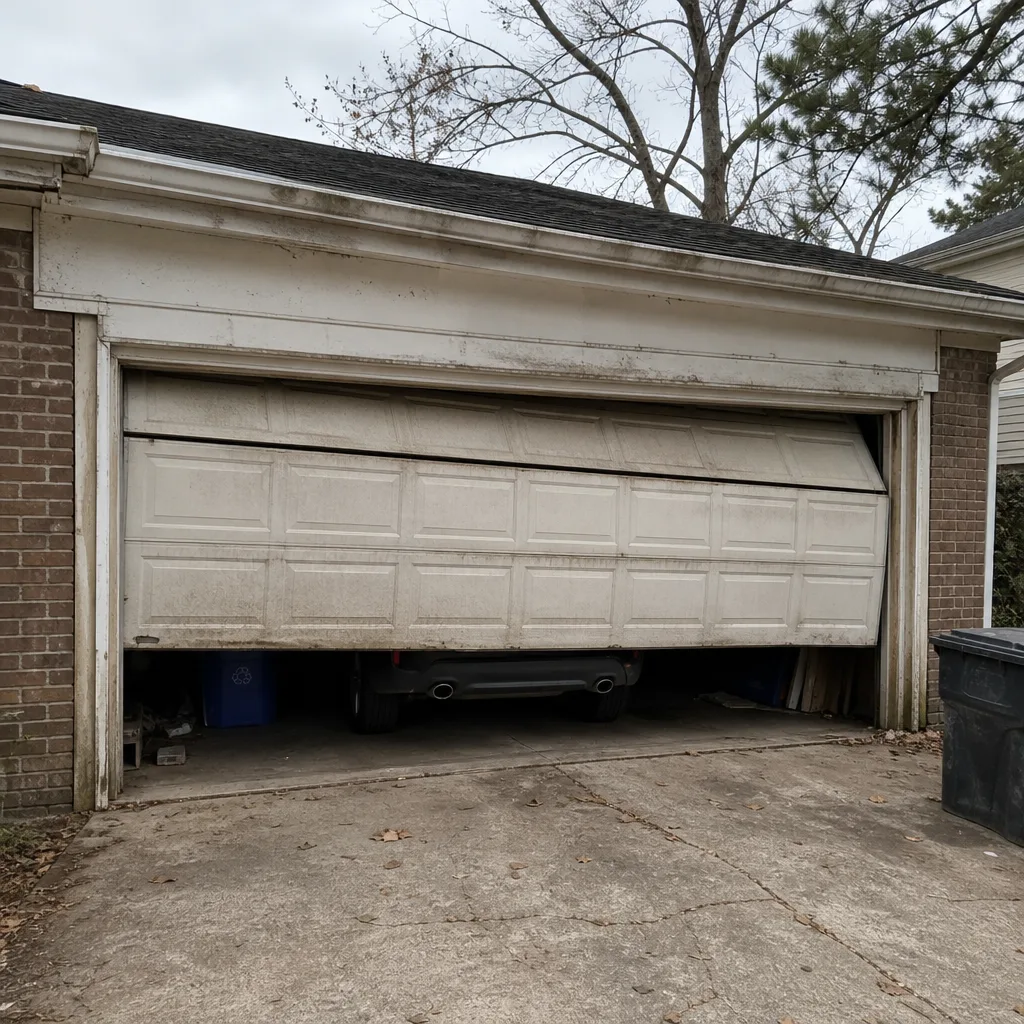 Before
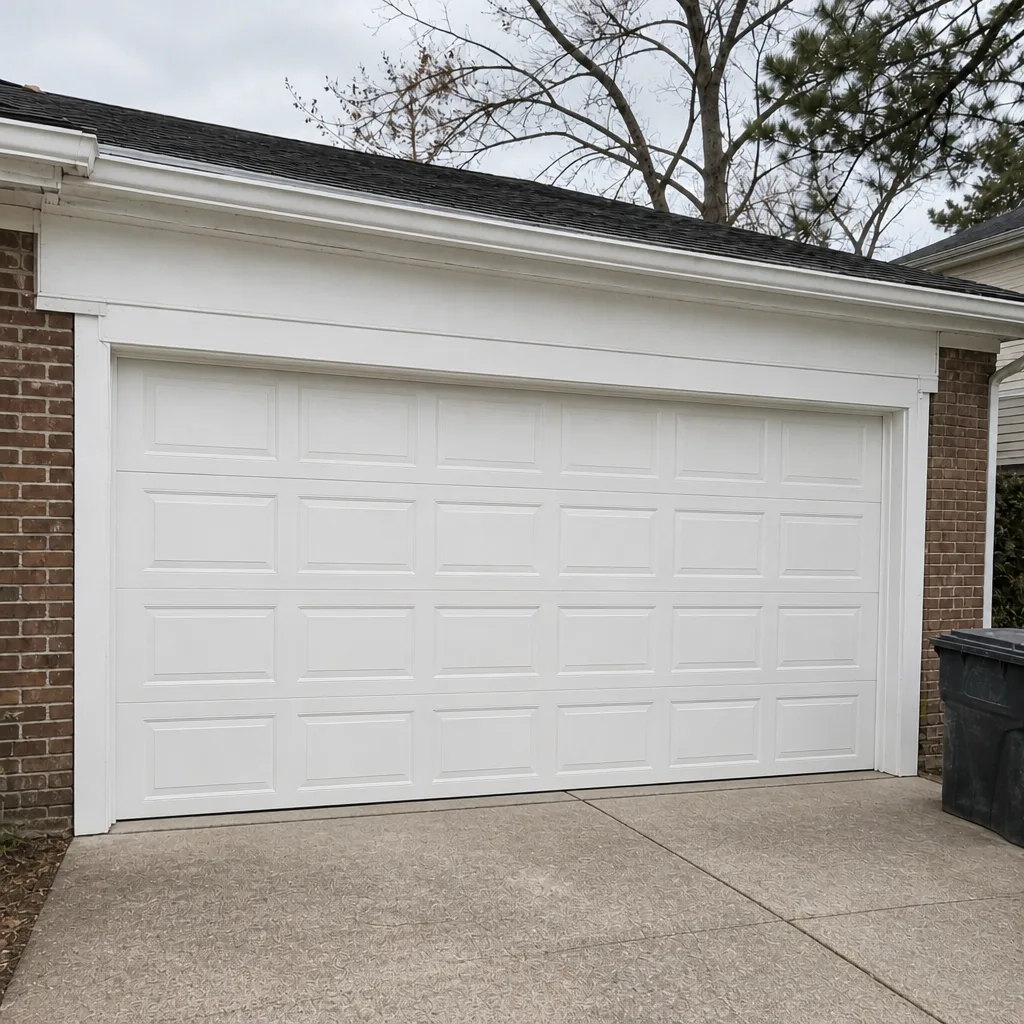 After
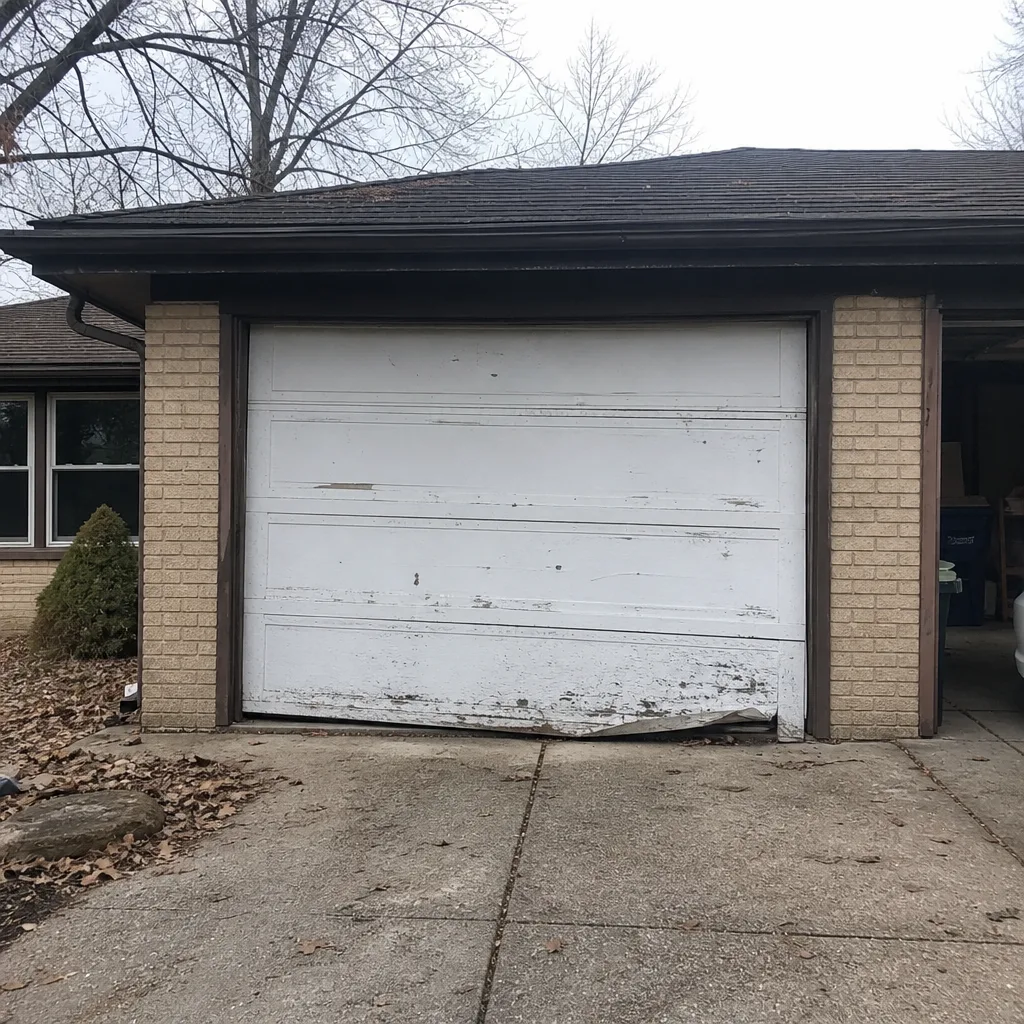 Before
 After
When to Call a Professional
Call a professional when any of the following is true: a spring is visibly broken or the door has dropped suddenly; a cable is hanging or has come off the drum; the door is crooked or bound and won’t close fully; the opener runs but the door doesn’t move; the door closes and immediately reopens after cleaning the sensors; or your door or opener is under a warranty you care about. Those are the situations where DIY is not a saving and not worth the risk. A generalist handyman isn’t the answer either; a garage door specialist knows your system, not just a general set of tool skills. In Lindenwood Park, Garage Door Repair Lindenwood Park offers free estimates. Call (866) 566-2905 and we’ll talk through what you’re seeing, quote a price, and agree on it before any work starts. Our technicians have up to 15 years of experience, and they work on the parts that matter most.
Frequently Asked Questions
No. Replacing a torsion spring yourself is not a safe DIY project. The spring holds the full weight of the door and stores enough energy that an uncontrolled release can break a wrist or worse. Professional-only, without exception. Call (866) 566-2905 for an estimate on spring repair. Estimates are free, and the price is quoted and agreed before work starts.
Spring repair is priced per job by a written estimate, and a single spring has its own price while a matched pair costs about twice that. The reason for the pair pricing is that torsion springs wear together and both are usually replaced at the same time. Call (866) 566-2905 for an exact quote; estimates are free.
The opener itself is a reasonable DIY installation if you’re comfortable at height and with low-voltage wiring, because the opener doesn’t hold the door’s weight. It’s not low-risk if the door’s balance is off, because the opener then works harder than it should. If you’re unsure about the wiring, have a specialist do it. Opener repair, once installed, is where a trained technician saves time, since the model-specific parts and diagnostics are already known.
It can. Garage door and opener manufacturers generally require installation and repair by a qualified technician to keep coverage in force, and spring work, wiring changes, and mounting alterations are the repairs most likely to be flagged. If your door or opener is under coverage, check the manufacturer’s documentation before attempting a repair yourself.
Run the hand-lift test. Pull the emergency release, then try to lift the door by hand. A door that’s far heavier than it should be has a spring or cable problem. A door that lifts easily but doesn’t move when you press the opener button has an opener problem. That single test tells you which system to look at, and it’s the first thing a technician will ask you about.
Yes, for most repair jobs. Call (866) 566-2905. We answer 24/7. Fast dispatch from 7am to 7pm, Sunday through Friday, closed Saturday. A call outside dispatch hours is booked into the next opening. Same-day service is available when the schedule allows, and the price is set by a written estimate before any work starts. For a new door installation, that’s a measured job and scheduled, not a same-day service.
The Bottom Line
The DIY-versus-pro decision on a Lindenwood Park garage door comes down to one rule: parts that hold stored mechanical energy are never DIY. Springs, cables, cable drums, and bottom brackets are all professional work, no matter how confident you feel. Sensors, lubrication, tightening bolts, and opener programming are reasonable to do yourself, and the middle band depends on your experience with that specific door and opener. The real cost comparison includes tool rental, wrong-part purchases, and warranty risk, not just the price of the part. Run the five diagnostic tests before you buy anything. And when a repair calls for a specialist, we’re here to quote it honestly and set the price in writing before the work begins.
Talk to a Garage Door Specialist in Lindenwood Park
If you’ve read this far and you’re still not sure which side of the line your problem is on, that’s usually a sign it’s worth a call. We work on LiftMaster, Chamberlain, Genie, Clopay, Amarr, Wayne Dalton, Craftsman, and Raynor equipment, we keep common parts on hand so a fix doesn’t wait, and our technicians have up to 15 years of experience on the systems in homes across Lindenwood Park. We handle repair, opener service, spring replacement, and new installation, so one specialist covers the whole lifecycle of your door. Call (866) 566-2905 for a free estimate. We answer 24/7. Fast dispatch from 7am to 7pm, Sunday through Friday, closed Saturday. Find the full range of what we do on our Garage Door Repair Lindenwood Park page.
Written by the team at Garage Door Repair Lindenwood Park.